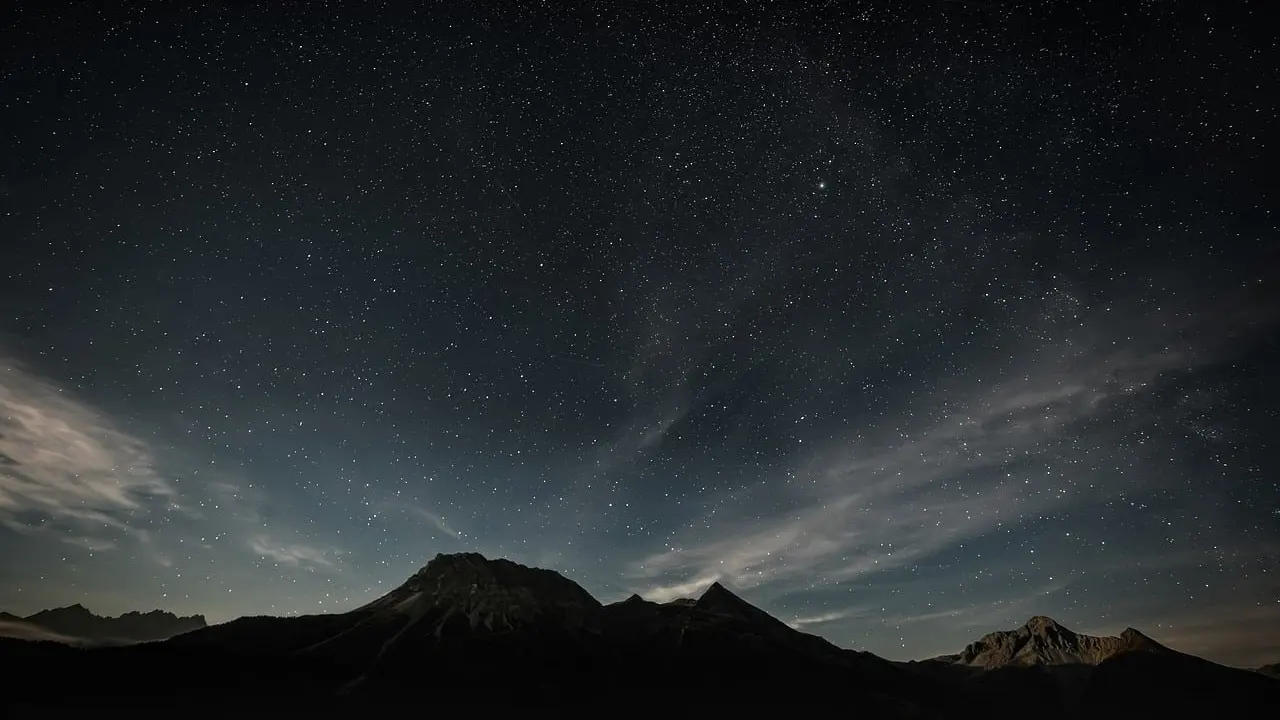
How to photograph the Milky Way comes down to three conditions: a moonless, dark-sky location, a camera locked on a tripod, and a shutter speed short enough to keep stars as points of light.
This walkthrough follows the order of a real shoot, from planning to editing. For the exposure concepts behind it, see our photography basics for beginners.
Why the Milky Way needs a dark sky and a short shutter
The Milky Way is faint, so every setting you choose is a trade-off between collecting enough light and keeping the stars sharp. You gather light with a wide aperture, a high ISO and a long shutter time. Earth’s rotation then works against the long shutter, because the stars drift across the frame while the sensor is exposing. Without a tracker, Peter Zelinka’s astrophotography notes put the usual limit at about 20 seconds before stars begin to show movement.
The sky has to cooperate too. The same guide warns that near a major source of light pollution the Milky Way will probably not be visible, and that the moon cannot be out if you want great Milky Way photos. A dark sky and a moonless window matter more than any piece of kit, so plan around them before you buy anything.
Planning the shoot: season, position and moon
Planning decides whether a night is worth the drive. The table below turns the seasonal and lunar guidance into decisions.
| Condition | What to expect | Planning use |
|---|---|---|
| Core season (northern hemisphere guidance) | April to October in most cases | Book trips and scouting inside this window. |
| Winter | Core not visible, November to February | Save these months for other night subjects. |
| Spring | Southeastern sky, about 3-5AM | Expect a very early start and point the camera southeast. |
| Summer | Due south and up all night | The easiest season for a relaxed, long session. |
| Moon | Wait for new moon, or check the moon is below the horizon; a window three to four days either side of new moon | Check moonrise and moonset times before committing to a night. |
Season and position guidance comes from Peter Zelinka, and the new-moon window from Danny Rood’s Milky Way guide.
Choosing the night and the hour
Pick the new-moon window that falls inside the season, then choose the hour by the position of the core. In spring that means the small hours; in summer you have far more flexibility. Danny Rood also advises taking nightscapes from astronomical twilight onwards, so arrive and set up while there is still some light and begin shooting once the sky has fully darkened.
Gear that matters for Milky Way photography
A camera with manual controls, a stable support and a fast wide lens cover most of what a beginner needs. Everything else is an upgrade.
Tripod and wide-angle lens
A tripod keeps the camera still for the whole exposure, which matters because, as Lewis Kemper notes, a foreground becomes a blur if the camera moves during the exposure. A wide-angle lens helps with Milky Way compositions, according to Zelinka, because it leaves room for both the sky and a foreground. Choose the widest, fastest lens you can afford: a larger maximum aperture lets you keep ISO and shutter time lower.
Sensor size and ISO
Sensor size sets how much light you can collect. Danny Rood puts it simply: the bigger the sensor, the more light you can capture. Zelinka adds that a full-frame camera can shoot at much higher ISO values with better noise control. If you are choosing between bodies for night work, prioritise sensor size and high-ISO performance over resolution or video features.
Star trackers
A star tracker moves the camera at the same speed as the stars, which allows much longer exposures without trails. Kemper describes 3-5 minute exposures of the sky at ISO 400-640 with a tracker. The catch is that the tracked foreground blurs, so you shoot the landscape separately (see the editing section). A tracker suits photographers who already have the basics working and want cleaner files, not a first purchase.
Camera settings and the shutter-time ceiling
Start in manual mode with the widest aperture, a high ISO and a shutter time that keeps stars round. The ranges below give you a place to begin and adjust from.
| Setting | Starting range | Planning use |
|---|---|---|
| Aperture | f/2.8 or the widest your lens offers; f/1.8 to f/4.0 should let in enough light | Shoot wide open, then stop down only if edges look soft. |
| ISO | 3200-6400 as a starting point; ISO 1600 is the bare minimum, up to 10,000 | Raise ISO until the histogram shows the sky is not crushed into the left edge. |
| Shutter time | 10-25 seconds | Use the 500 rule below as a ceiling, not a target. |
| White balance | 3800K to 4200K | A neutral starting point; fine-tune later from RAW files. |
| Shutter delay | At least 2 seconds | Lets vibration from pressing the button die away. |
Starting values come from Capture the Atlas, and the wider aperture and ISO ranges from Danny Rood.
Setting the shutter time with the 500 rule
The 500 rule says that 500 divided by the focal length gives the maximum time, in seconds, to capture sharp stars. Treat it as an approximate guide: pixel-peeping on large files can show trails earlier than it predicts. Capture the Atlas also describes the NPF rule, an alternative calculation, which gives a maximum shutter speed of 16.45 seconds at 14mm and f/2.8. If stars look like short dashes at full size, shorten the shutter and raise ISO instead.
Composition and shooting workflow
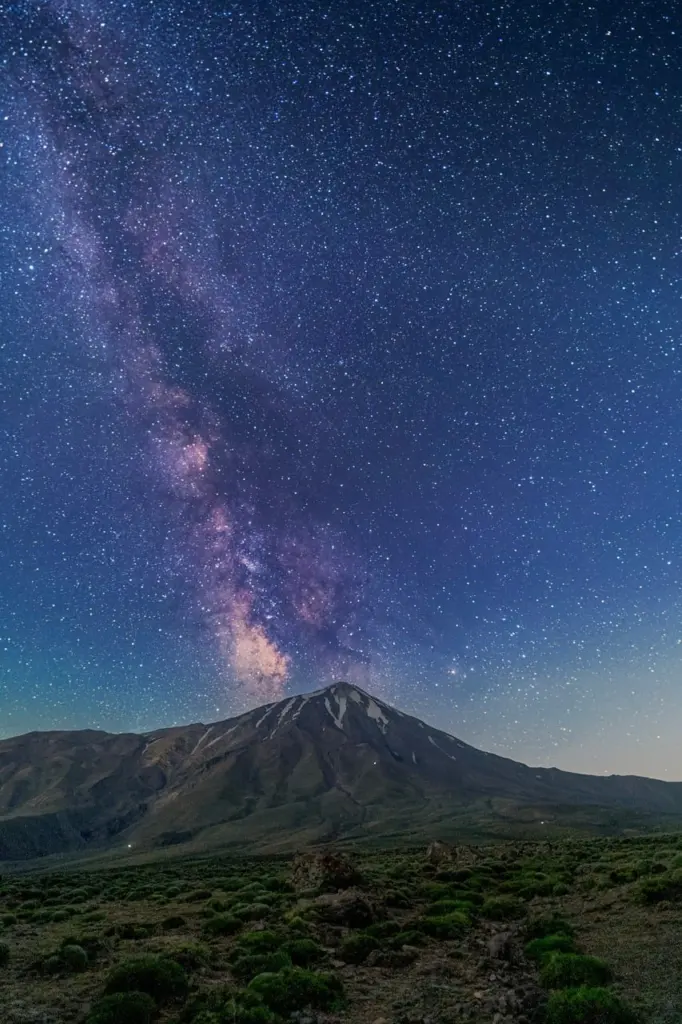
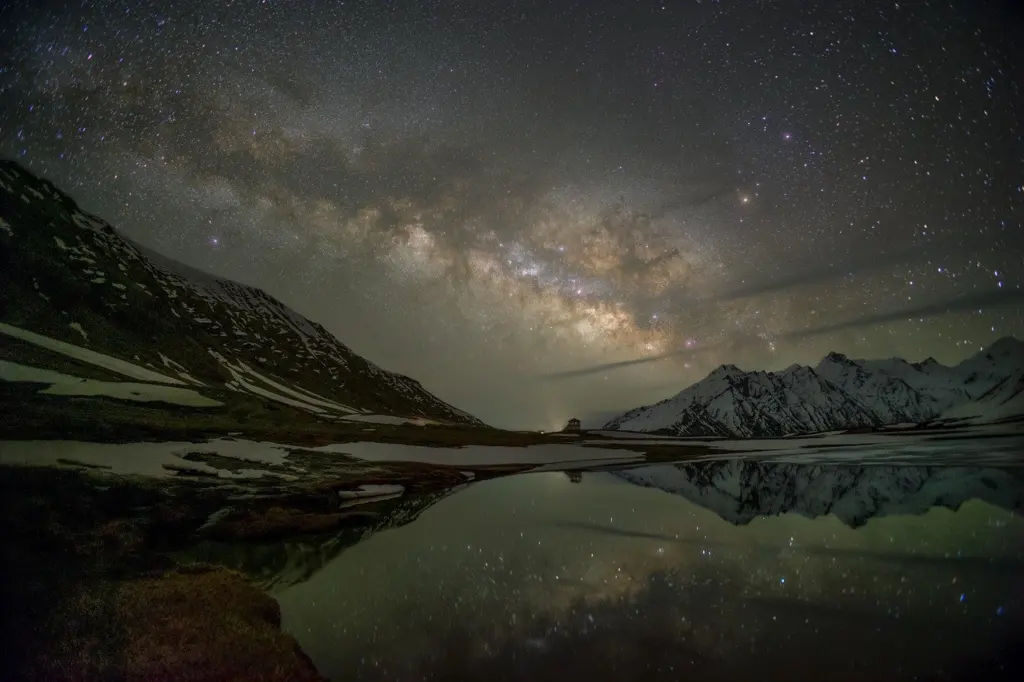
A strong foreground turns a record of the sky into a photograph. Place a ridge, tree or lake in the lower part of the frame and let the core rise above it. Because you scouted the rise direction earlier, you can position the camera before the sky is fully dark.
Work through each location in the same order:
- Frame first. Mount the camera on the tripod and compose with the wide-angle lens so both the foreground and the core fit.
- Set exposure. Dial in the starting settings from the table, then take a test frame and check that stars are sharp and the sky is bright enough.
- Add a shutter delay. Use a delay of at least 2 seconds, as Capture the Atlas recommends, or a remote release.
- Review and refine. Zoom in on the preview, adjust ISO or shutter time, and repeat before committing to a long run of frames.
Shoot extra frames of the same composition. They give you options for stacking, which the next section covers.
Editing the Milky Way
Edit from RAW files so that white balance and tone remain adjustable. Begin with white balance, since a preset is only a starting point, then lift exposure and contrast until the core separates from the background sky.
Stacking for more light
Image stacking is a way to gather more light without long single exposures: you take multiple images of the night sky and combine them. Kemper gives the example of short exposures such as 6 seconds at ISO 20,000 combined in software. Stacking suits fixed-tripod shooters who want a brighter result without buying a tracker.
Blending tracked sky and foreground
If you use a tracker, the sky is sharp but the ground blurs. Take a separate untracked frame of the foreground and blend it with the tracked sky in your editor. Untracked frames are also the ones to use for any foreground that needs different exposure from the sky.
Sharpening stars
Sharpening can tighten stars that look soft after a longer exposure. Capture the Atlas says it always uses Topaz Sharpen AI to increase the sharpness of the stars. Apply it to the sky only, so the foreground does not pick up artefacts.
Where to go next
Once planning around light, moon and season becomes routine, the same habits carry over to other scheduled shoots. Our guides to Couples Photoshoot Ideas: 25 Romantic, Candid & Creative Concepts for 2026 and 30 Festive Christmas Photoshoot Ideas To Capture Holiday Magic In 2026 are good places to apply them.
Frequently asked questions
Can I use a crop-sensor camera for the Milky Way?
Yes, with a lower ISO ceiling. Zelinka notes that many entry-level crop-sensor cameras start to show heavy noise around ISO 800. Danny Rood adjusts the 500 rule for crop sensors by dividing 500 by the focal length multiplied by the crop factor.
When in the evening can I start shooting?
Danny Rood recommends taking nightscapes from astronomical twilight onwards. Use the earlier twilight period for setup and composition.
Which direction does the core rise in the southern hemisphere?
According to Danny Rood, it rises roughly in the southeast from February to April and in the east in May and June, then moves toward the west through November.
Is ISO 6400, f/2.8 and 25 seconds a good recipe?
It is a common single-exposure combination, but Zelinka notes the photos still will not look great at those typical settings. Treat it as a starting point and improve results with darker skies, a tracker or stacking.