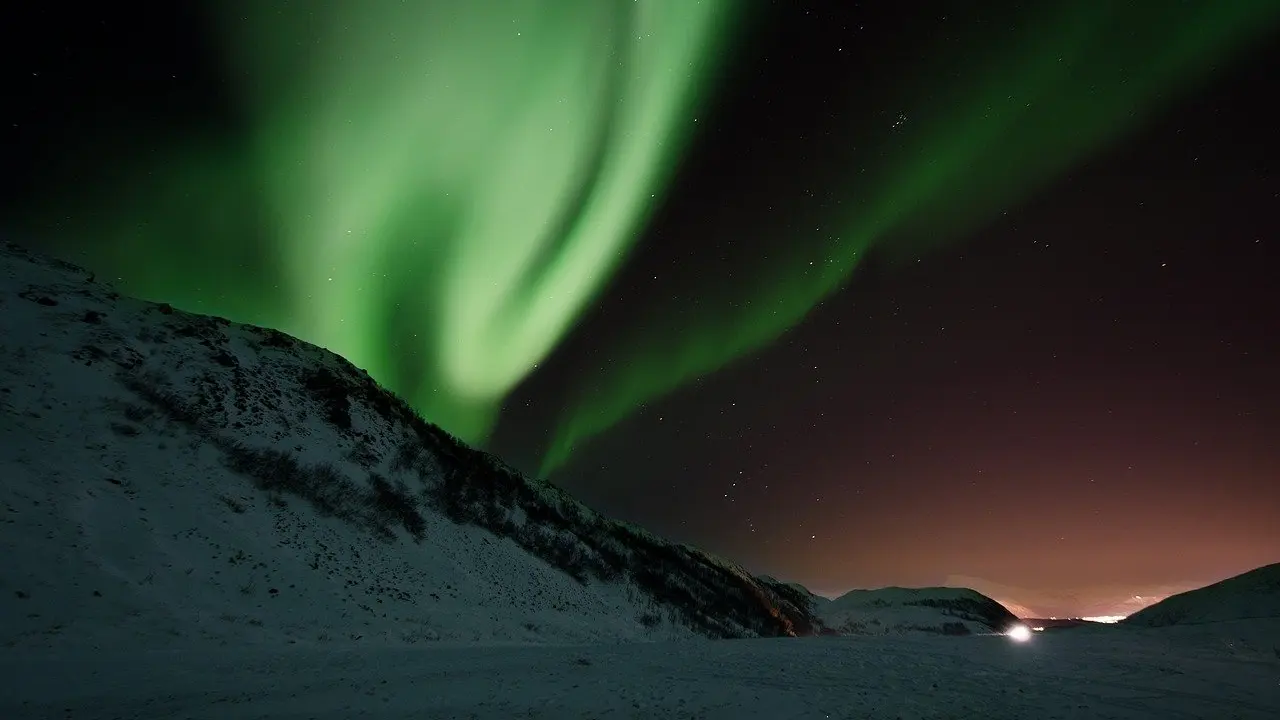
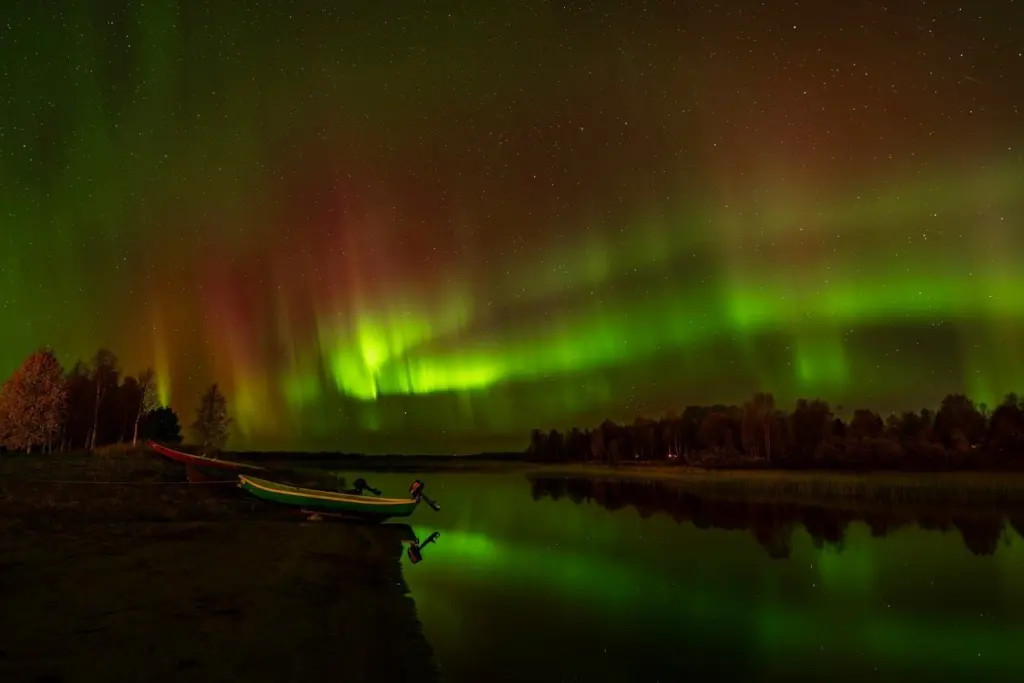
A green arc flares and the frame turns to white mush. The fix is simple: camera settings for northern lights begin wide open, with a short shutter and ISO around 1600 to 3200, then shift with the aurora’s brightness.
Most failed frames come from daytime habits or outdated rules of thumb. This guide corrects them one at a time, and it pairs with photography basics for beginners if aperture, shutter speed and ISO are still new to you.
Starting exposure by aurora brightness
Manual mode is a requirement, because aurora work needs direct control of aperture, shutter speed and ISO; photographer Dave Morrow states it plainly. Set the three in order. Open the aperture wide and choose a shutter time that limits star trails, then adjust ISO for a good exposure, as Sony’s Alpha Universe aurora guide describes. Shutter time is the setting that changes most from one display to the next, so the table contrasts a faint, slow aurora with a bright, fast one.
| Setting | Faint or slow aurora | Bright or fast aurora | Planning use |
|---|---|---|---|
| Aperture | As wide as the lens allows (lowest f-number) | Same; wide open stays the default | Open the lens fully before you reach for a higher ISO. |
| Shutter speed | Around 5 to 15 seconds as a starting point | Cut below the typical 2 to 8 seconds; a fraction of a second in a strong storm | Shorten as the aurora speeds up so its structure stays visible. |
| ISO | Start around 1600 to 3200 | Lower if the aurora is particularly bright or the moon or snow adds light | Treat the range as an opening guess, then review the result. |
Starting shutter times and ISO come from Visit Tromsø’s photography guidance, while the typical and storm-level shutter times come from Sony’s Alpha Universe.
Read the table as a starting position rather than a recipe. Other photographers publish overlapping ranges: Dave Morrow recommends shutter speeds of 1 second to 15 seconds and ISO 500 to 2000, depending on the aurora’s movement and brightness. The overlap is the useful part. Begin in the middle of it, check the first frame, and move toward the faint or bright column as the sky changes.
Exposure misconceptions that cost frames
“Does the focal-length rule still give a safe shutter time?”
It no longer does. Alpha Universe notes that the old divide-by-focal-length approach falls short with the sophisticated sensors on newer cameras. The better method is to shoot with a wide-open aperture and a maximum shutter time that minimizes star trails. Then adjust the shutter down from that maximum according to how bright the aurora is and how fast it moves. The ceiling protects the stars. The aurora decides how far below it you should shoot, so a maximum is never a target.
“Longer exposures always capture more aurora”
That holds only for dim displays. The LW Petersen aurora guide suggests a longer shutter when a faint aurora sits low on the horizon, since there are no details to capture. When the aurora is bright and fast, the same guide takes the shutter as fast as possible, under 1 second, and raises ISO to compensate. A shutter that is too long also oversaturates the sensor, which can turn green aurora white. Watch the monitor or histogram between frames.
- Dim, low aurora: a longer shutter is reasonable because the display has little structure to lose.
- Bright, fast aurora: a shutter well under a second preserves shape, with ISO raised to make up the light.
- Green looking white: shorten the shutter and reread the histogram before the display changes again.
“Higher ISO is always safer in the dark”
ISO controls how sensitive the sensor is, and raising it adds noise while reducing colour and contrast, according to the LW Petersen guide. That is why Visit Tromsø frames 1600 to 3200 as an opening ISO range rather than a rule, and suggests going lower when the aurora is bright or moonlight and snow add light. The same guide says a mid-range camera with a fast lens should give reasonable quality at a more moderate ISO. The working range therefore depends on your camera and lens. Fix aperture and shutter first, then raise ISO only as far as the exposure needs.
Lens choice and focus
“You need an ultra-wide lens”
An ultra-wide helps, but Alpha Universe says you do not necessarily need one; a strong subject and foreground still matter more than extra width. Visit Tromsø lists a camera with a wide-angle lens as preferred kit. Dave Morrow’s focal-length guidance gives a practical window: 14mm to 30mm on full frame and 10mm to 25mm on a crop sensor. He also recommends minimum f-stop values from f/2.8 to f/4.
Speed and sharpness pull in different directions. The LW Petersen guide warns that many lenses show more aberrations, such as chromatic aberration and vignetting, at their lowest f-stop. Test your lens at its widest setting before the trip, then decide whether the corners are acceptable. If they are not, accept a little more ISO instead of ruining every frame.
“Autofocus or the infinity mark will get it sharp”
Neither is dependable in the dark. Visit Tromsø advises switching to manual focus and focusing on a distant light or star. It treats infinity as a useful starting point, but says to check that the image is sharp. Dave Morrow agrees that focusing at or near infinity works well, and he recommends testing focus before the shoot. A magnified view makes the check easier. Alpha Universe describes Sony’s focus magnification giving 12.1x magnification, against 5.2x with the focus wheel. Use the highest magnification your camera offers and refine on a star.
Tripod and shutter release
Aurora frames are long exposures, so anything that moves the camera shows up as blur. Visit Tromsø calls for a tripod or steady surface and the self-timer or a remote shutter release to reduce camera movement. Pressing the button by hand undoes the work of a good tripod. Set the timer or release before you start composing.
Related guides
Aperture, shutter speed and ISO also drive portraits, where the priorities change completely; Camera Settings for Portraits: Master Aperture, Shutter, ISO, and Focus In 2026 covers that side. If your next subject is a nursery session rather than a night sky, Baby Photoshoot Ideas: 25 Creative Concepts And Practical Tips For Picture-Perfect Results (2026) offers concepts to plan around.
Frequently asked questions
| Question | Answer |
|---|---|
| Can a kit lens photograph the aurora? | Yes, with limits. LW Petersen says most kit lenses bottom out around f/3.5, mid-priced wide-angles reach f/2.8, and pricier lenses reach f/1.8 or f/1.4. A kit lens at that aperture sits inside the f/2.8 to f/4 range Dave Morrow recommends as a minimum. |
| Is there an example exposure for a dim aurora? | One published example for a dim aurora on the horizon, shot on a Nikon D90, is 30 s at f/3.5 and ISO 640, per LW Petersen. Use it as an illustration of the longer-shutter approach, not a target for every camera. |
| Can I preview the scene before taking the shot? | On Sony cameras, a custom-button bright monitoring preview lets you view most night scenes as if the shutter were open for 30 seconds, as Alpha Universe explains. |
| Is a head torch part of the kit? | Yes. Visit Tromsø lists a head torch alongside the camera and tripod. |