The best camera settings for sunset are a low ISO, a small aperture and a tripod, with shutter speed lengthening as the light fades. Expose for the sky, and keep white balance off auto so the oranges stay warm.
These controls interact, so the sections below explain why each one moves, then give sample settings that adapt from sun-up to afterglow. If exposure terms are unfamiliar, start with photography basics for beginners.
Why sunset light changes the rules
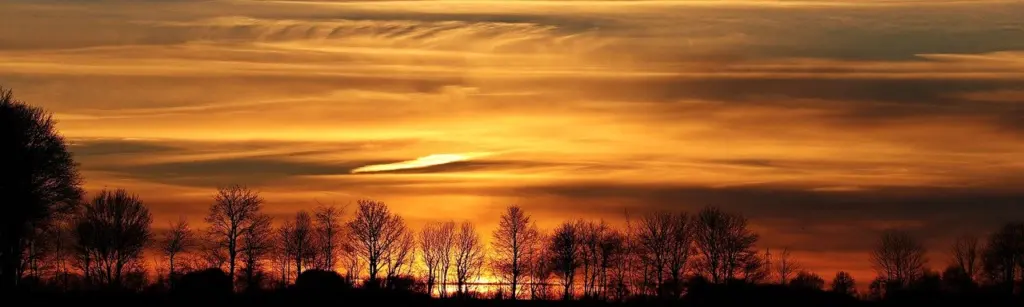
Sunset scenes combine a bright sky with dark ground, and that gap drives most of the settings decisions. A beginner sunset guide describes high contrast between dark and bright areas of the scenery, and puts the colour temperature of the light at around 2800 to 3000 K, which is very warm.
Three practical consequences follow:
- Exposure has to protect the sky. The brightest part of the frame is usually the part people want to keep, so exposure decisions start there.
- White balance can erase the mood. Settings that try to neutralise warm light work against the scene you are photographing.
- Light keeps falling. As the light is reduced, the exposure has to be compensated for, either with a longer shutter time or a higher ISO, as Topaz Labs notes.
Because the light changes minute by minute, a single fixed set of numbers will not hold for a whole session. The next section explains how the three exposure controls trade against each other so you can adjust deliberately.
How aperture, ISO and shutter speed trade off
Aperture, ISO and shutter speed all change the exposure, but each has a side effect on the picture. Choose the one that matters most for the frame, then let the others absorb the changing light.
Aperture: depth against sharpness
A small aperture gives a greater depth of field, and beginner guidance from ON1 suggests f/8-f/16. Topaz Labs likewise places aperture in the middle range, between f/8 and f/16, for sharpness across the frame. For deep depth of field, the Adorama guide points to f/13 to f/16.
Treat f/16 as the top of that range rather than a target to exceed. At aperture values above f/16, diffraction will likely start to occur and make images less sharp, according to Topaz Labs. Adorama adds the other half of the trade-off: a small aperture means both diffraction and less light entering the camera, so you pay with a higher ISO or a slower shutter.
ISO: keep it low, raise it with a reason
ON1 suggests ISO 100-200 for beginners to reduce noise, and the Adorama guide calls ISO 100 the best option. When light is limited, that guide says you can increase ISO up to 400. That figure is a ceiling for tight situations, not a starting point.
ISO also has a direct effect on shutter time. In a worked example from Improve Photography, a shutter speed of 1/15 s at ISO 100 becomes 1/30 s when the ISO is raised to 200, so doubling ISO halves the exposure time. Use that when a shutter speed is just too slow for a steady frame, and raise ISO only as far as needed.
Shutter speed: the variable that follows the light
In aperture priority you set the aperture and the camera automatically changes the shutter speed, which suits a sunset where the light drops steadily. One beginner guide from B&C Camera treats 1/30 s or longer as the working shutter speed for sunset shots.
If the sky is washing out, the answer is the opposite direction: Topaz Labs recommends a quick shutter speed that minimises exposure time to prevent blown-out sunset pictures. With the trade-offs clear, the next step is to see how the numbers move through a session.
Sample settings as the light changes
Start with a fixed, conservative setup and change only one control at a time as the sun drops.
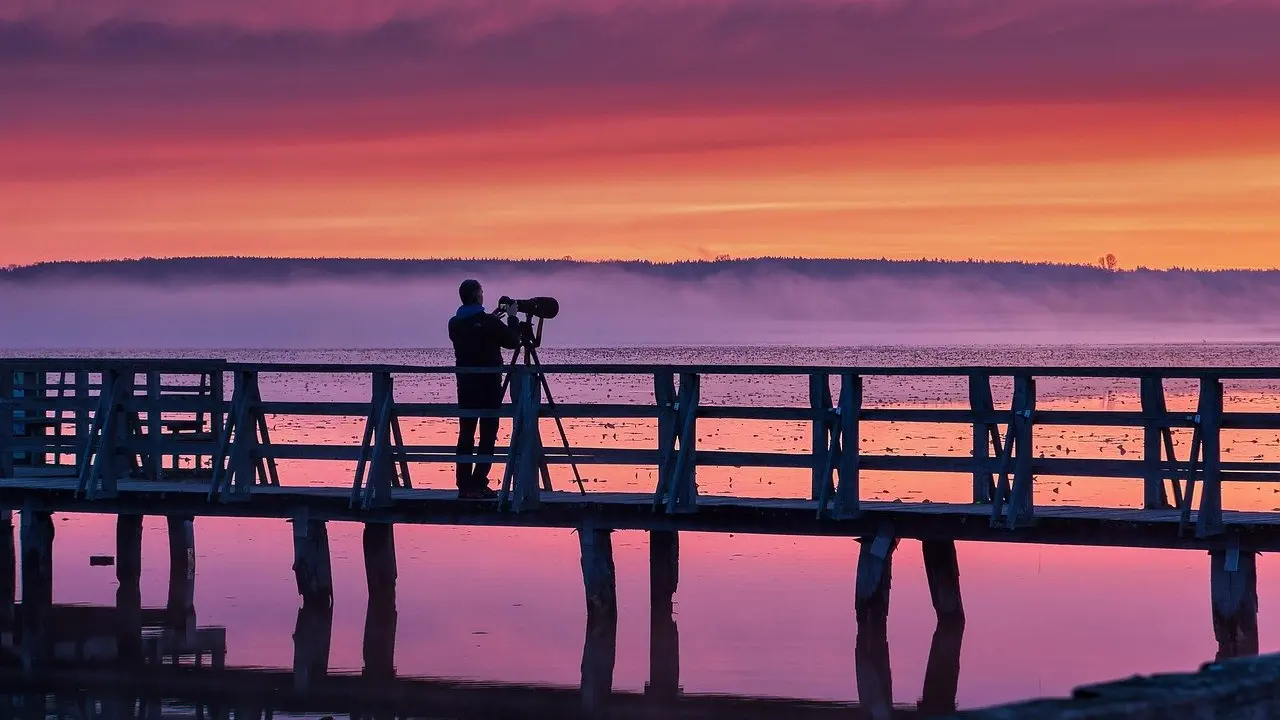
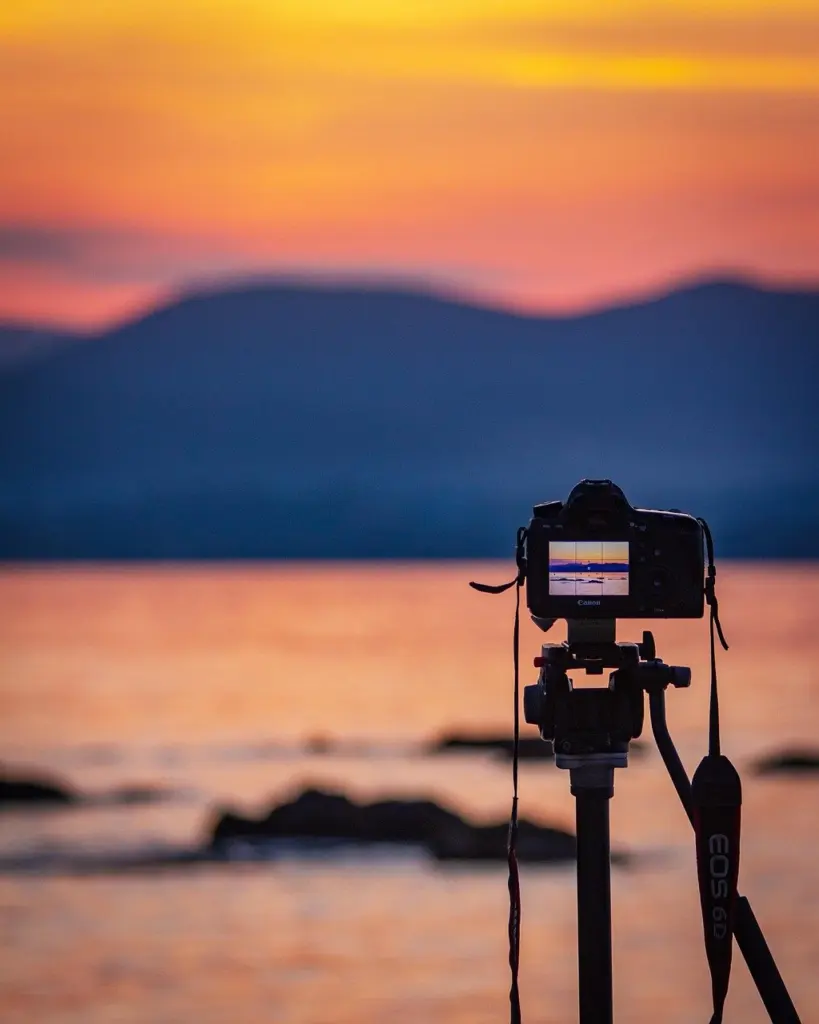
- Set up on a tripod first. With the camera on a tripod, the shutter speed can be longer without the worry of camera shake, per Improve Photography.
- Begin in aperture priority. The same guide suggests f/16, ISO 100 and letting the camera set the shutter speed as a starting point.
- Let the shutter lengthen as the sun sinks. Leave aperture and ISO alone while the resulting shutter time still suits the scene.
- Raise ISO only when the shutter gets too slow. Adorama’s ceiling is ISO 400 when light is limited.
- Bracket when sky and ground are far apart. Capture three exposures of the same composition, as the Adorama guide suggests.
| Scenario | Aperture | ISO | Shutter speed | Planning use |
|---|---|---|---|---|
| Starting point in aperture priority | f/16 | 100 | Chosen by the camera | Fix aperture and ISO, then watch the shutter speed the camera picks. |
| Deep focus across the frame | f/13 to f/16 | 100 | Lengthens as light falls; use a tripod | A small aperture gives depth but costs light. |
| Light running short | Unchanged | Up to 400 | Shortened by the higher ISO | Raise ISO in steps; 400 is a ceiling, not a target. |
| Bright sky over dark foreground | As above | As above | Three exposures: underexposed, correct, overexposed | Bracket on a tripod to hold detail in both sky and foreground. |
The starting point comes from Improve Photography, while the depth, ISO ceiling and bracketing rows follow the Adorama sunset guide.
These rows are starting points rather than rules. If the sky already looks too bright on the rear screen, shorten the exposure instead of reaching for more ISO.
White balance for warm sunsets
Do not leave white balance on auto at sunset. Adorama warns that auto white balance may misinterpret the orange shades of the sunset and try to correct them by adding blue, and B&C Camera is blunter, saying never to choose auto white balance because you will get dull colours. Its recommendation is a daylight preset.
Many photographers warm their white balance to make the sky look warmer and more saturated, but ON1 advises against that. Its guidance is to ensure a neutral white balance for realistic edits, so that shadows stay cool and highlights stay warm. In practice, that means locking a preset in the field and starting any edit from a neutral point rather than stacking extra warmth on light that is already very warm.
Metering and protecting highlights
Meter for the sky first, then judge the foreground. B&C Camera says to keep your focus on the sky, and because sunset has high contrast between dark and bright areas, that is where an overexposed frame loses information first.
Blown highlights have two main remedies:
- Shorten the exposure. A quick shutter speed that minimises exposure time prevents blown-out sunsets, per Topaz Labs. Review the rear screen after a test frame and shorten the exposure if the sky looks washed out.
- Bracket. Automatic bracketing typically takes three images, one underexposed, one at the correct exposure and one overexposed, as Topaz Labs describes. Adorama suggests the same three exposures to keep detail in both sky and foreground, and notes that you need a tripod to do it.
Exposing for the sky also has a creative side. Dark foreground shapes such as trees turn into silhouettes, which can be the point of the picture rather than a flaw.
Using sunset settings with people in the frame
Sunset light also suits couples and portraits, but the priorities change once a face is in the frame. For couples, the 25 Creative Engagement Photoshoot Ideas Couples Will Love In 2026 guide offers scene ideas where these sky-first settings apply. When the subject’s face matters more than the sky, Camera Settings for Portraits: Master Aperture, Shutter, ISO, and Focus In 2026 covers aperture, shutter, ISO and focus choices built around the person.
Frequently asked questions
Do I need a tripod for sunset photos?
Yes, in most cases. Adorama says you will need a tripod to avoid camera shake in low-light conditions, and bracketed exposures require one as well.
Which focal length suits sunset landscapes?
Improve Photography calls a focal length range of 14 mm to roughly 24 mm a good starting point for sunset landscapes.
What if I shoot JPEG instead of RAW?
JPEG shooters have to set white balance manually, according to Adorama, so choose a daylight preset before the light changes instead of relying on auto.
When should I use a slow shutter speed?
Use it when you want a smooth, painting-like look in water or sky. Adorama notes that slower shutter speeds create a smooth effect, and a tripod keeps the rest of the frame sharp.