| Cleaning decision | What the guides support | Planning use |
|---|---|---|
| Blowing before wiping | Blowing air across the glass and the mounting surface loosens dust and debris. Two or three blasts, then recheck and repeat if needed. | Make the blower the first tool every time, before any cloth touches the glass. |
| Generic glass cleaner | Any old glass cleaner may get the lens clean, but it could also damage the sensitive coatings. | Buy a solution formulated for optical glass. |
| Tissues and paper towels | Regular tissues leave hundreds of tiny fibers that can affect a shot, and some facial tissue contains lotion. | Keep tissue out of the kit and use a microfiber cloth. |
| Compressed air | It can push dust particles further into the camera. | Choose a rubber bulb blower. |
| Fluid on the lens | Cleaning fluid should never go directly onto lens glass or the mount. | Put the fluid on the cloth, then touch the cloth to the glass. |
These cautions come from a professional photo-supply cleaning guide and a camera-cleaning kit guide.
How to clean camera lens glass safely comes down to order: blow off grit first, then wipe with a microfiber cloth carrying a tiny amount of lens-specific solution, and never rub residue that will not lift.
Lens care sits alongside gear choices. If you are still choosing a first kit, our buying guide to the best camera for beginners covers the options. Owners of long glass can pair this routine with Telephoto Lenses Explained: How They Work, When To Use Them, And How To Get Sharp Results In 2026 to understand what they are handling.
What a careless clean costs
Most lens damage comes from the cleaning rather than the dirt. One photographer’s gear-care guide makes the point directly: wiping grit across glass is what causes the scratches. That is why the dry stage comes first, and why extra pressure never solves a smudge.
The lens coating is the second casualty. The front element carries a coating that is easier to harm than to repair, and a camera-cleaning guide advises avoiding household cleaners because they can damage lens coatings. A product that leaves the glass looking clear can still harm the layer on top of it.
Too much liquid is the third. A video-production cleaning guide warns against soaking the cloth or tissue, because too much moisture can do harm. A tiny quantity of solution is the target, not a ceiling to approach.
The practical decision depends on what you see on the glass:
- Dust only: blow it off and stop. A lens that is only dusty does not need a wipe.
- Smudges or fingerprints: blow first, then use the damp wipe described below.
- A mark that survives both: stop and read the section on stubborn marks before applying more pressure.
Tool checklist
A small kit of soft, purpose-made tools covers every stage, and each item replaces something from the kitchen drawer that would do more harm.
- Rubber bulb blower: one cleaning guide prefers rubber bulb types because they deliver a gentle blast of air that shifts loose grit without touching the glass.
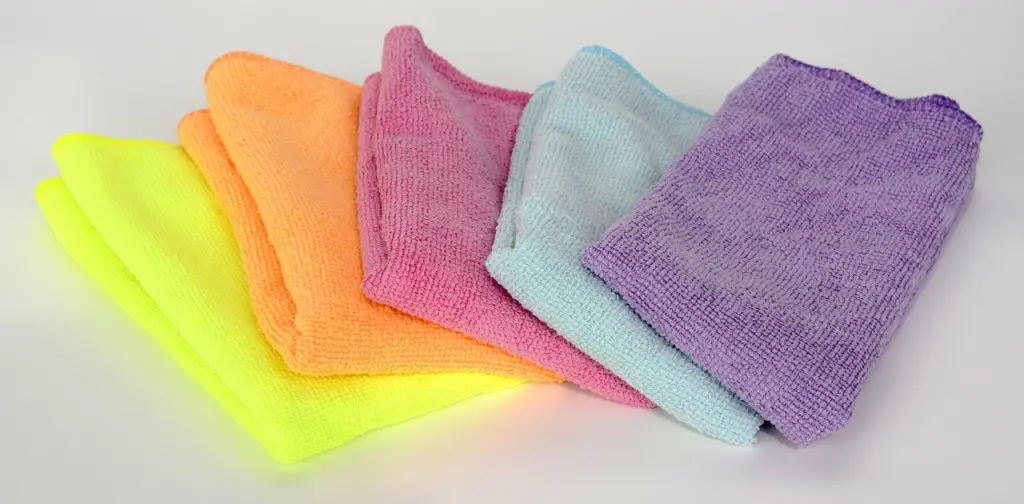
- Microfiber cloth: the same guide describes microfiber as non-scratching, washable and lint free, and a second guide says these cloths are designed to remove dust, dirt and smudges without scratching delicate surfaces.
- Lens cleaning solution: choose one formulated for optical glass, not a generic glass cleaner.
- Lens tissue: a video-production guide accepts it as an alternative to microfiber for carrying the solution.
- Lens pen: it pairs a brush on one end with a cleaning tip on the other. The brush clears loose debris, and the tip contains a carbon compound meant for fingerprints.
- UV or clear filter: a protective layer that sits in front of the front element, covered in its own section below.
- A separate cloth: reserve it for the lens barrel so residue from the metal or plastic never reaches the glass.
If you pack light for trips, this short kit fits alongside the cameras in our best compact camera for travel comparison.
The staged cleaning routine
A safe routine moves from the least contact to the most, because grit has to be gone before anything touches the glass. Work through the stages in order and stop as soon as the lens is clean.
Dry removal of grit
Start by removing the front and rear caps, as a camera-store maintenance guide sets out. Then blow air across the surface of the glass and the mounting surface to loosen loose dust and debris. A professional photo-supply guide suggests two or three blasts, then a recheck, repeating if needed.
If particles remain, the brush end of a lens pen can sweep away loose debris. Do not move to a cloth until the glass looks free of grit, since the cloth is where a stray particle turns into a scratch.
Damp wipe for smudges and fingerprints
Fingerprints and smears need a controlled amount of liquid, applied to the cloth and never to the lens.
- Apply a tiny quantity of lens cleaning solution to a microfiber cloth or lens cleaning tissue, taking care not to soak it.
- Start in the centre of the glass and work toward the edge in a circular pattern.
- Finish with a dry part of the cloth and polish the glass lightly.
For a single fingerprint, the carbon-compound tip of a lens pen is a quicker alternative to the wet cloth.
Finishing and refitting
Let the lens air dry for a few minutes after cleaning, as the video-production guide advises, before wiping again or reattaching anything. Wipe any residue on the barrel with the separate cloth. Finally, give everything a once-over with the blower before the caps go back on, as the camera-store guide recommends, so no dust is sealed in with the lens.
Stubborn marks and when to stop
If a mark survives the blower and a damp wipe, leave it alone. The photo-supply guide is blunt about residue that will not come off with the standard methods: leave it.
Rubbing harder risks the coating you are trying to protect. A small spot may be fixable in post-processing, and anything larger is a job for a repair service rather than for more pressure. Treat that as the stopping rule for the whole routine: more force never substitutes for the right tool.
Protecting the front element
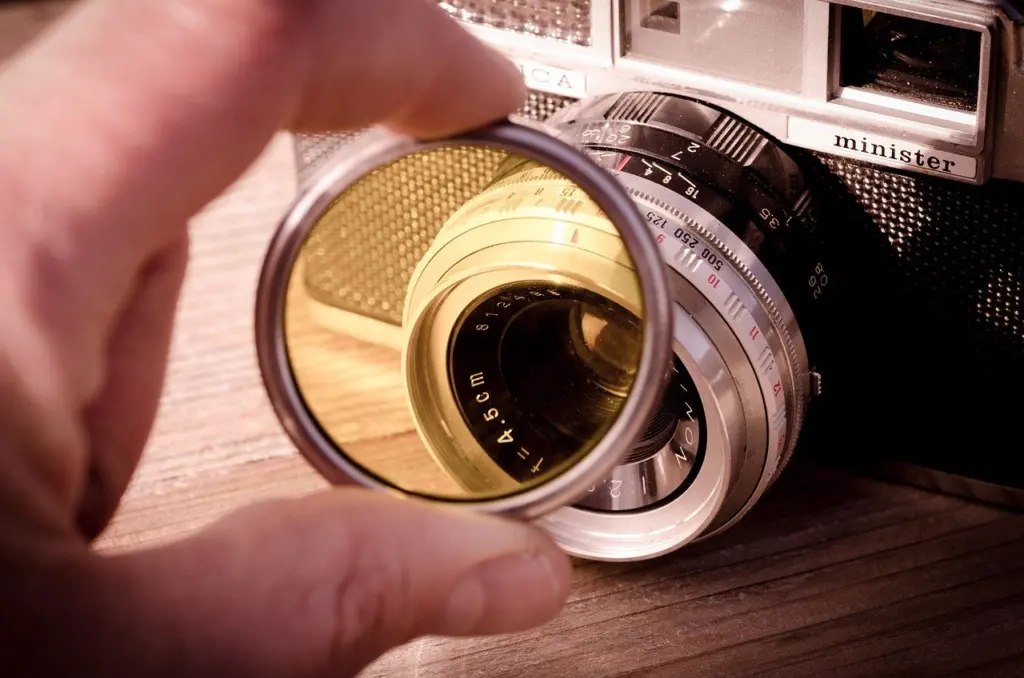
A filter on the front of a lens takes the dirt and scratches that would otherwise land on the front element. The photo-supply guide recommends putting a filter on the front element of all your lenses, and says a UV or clear filter will do the trick.
This suits anyone who wants the cheaper, replaceable surface to be the one that takes the wear. It also changes what you clean day to day: the filter glass becomes the surface you wipe, so the same dry-then-damp order applies to it.
Frequently asked questions
How often should I clean a camera lens?
One camera-store guide suggests giving the camera and lenses a once-over before and after every shoot. One photographer cleans the front element and camera body at home after every outing, with a quick check after every outdoor shoot. A blower pass covers routine dust, and the damp wipe is for smudges you can actually see.
Is isopropyl alcohol safe on a lens?
The guides disagree. One warns that alcohol-based solutions can damage lens coatings, while a camera-store guide uses a small amount on a separate cloth for residue on the barrel. The safer course is a solution made for optical glass on the glass itself, keeping alcohol, if used at all, to the barrel.
Does a UV filter hurt image quality?
The photo-supply author says multi-coated filters should have no apparent effect on images in most situations, so a good clear or UV filter is a low-cost trade for protection. That is one author’s assessment, not a guarantee for every lens or lighting condition.