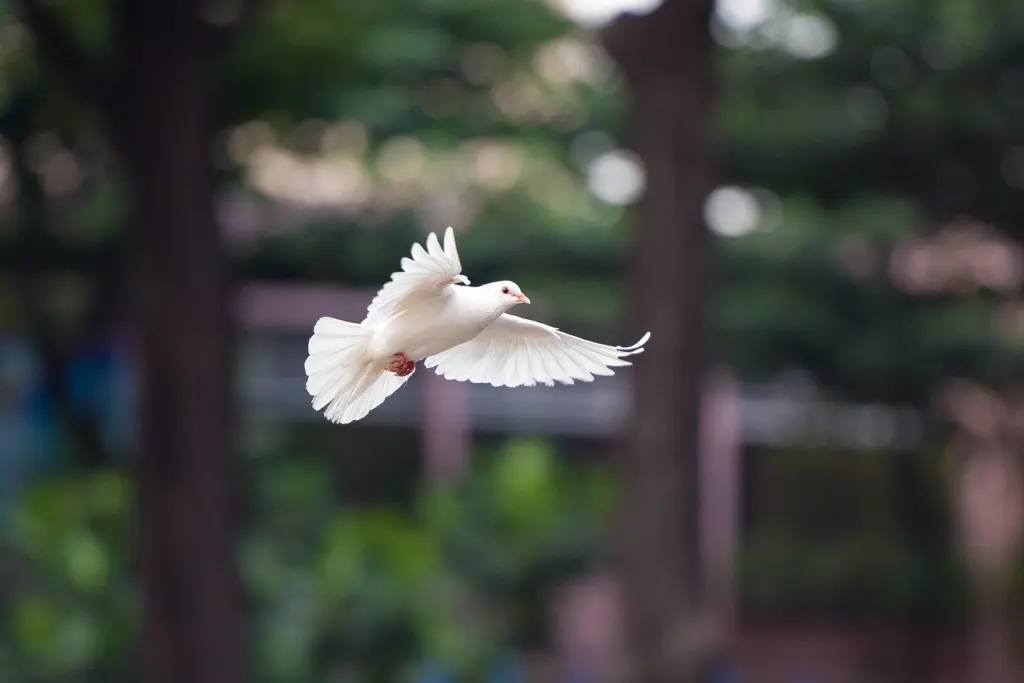
A bird lifts off and every frame comes back soft. Knowing how to photograph wildlife sharply usually starts with a fast shutter speed, continuous autofocus and a respectful distance.
Wildlife work rests on general exposure and focus skills, so photography basics for beginners is the place to firm those up first. The sections below correct the assumptions that most often cost wildlife photographers their sharpest frames.
Camera settings by subject
The best camera settings for wildlife depend on how fast the subject moves, so choose the shutter speed first and let aperture and ISO follow. A common assumption is that a perched or slow-moving animal needs no special care. In practice, a long lens magnifies every small shake and movement, so even a motionless bird needs a brisk shutter speed.
| Situation | Common assumption | What works | Planning use |
|---|---|---|---|
| Motionless bird | A still subject can be shot at any shutter speed | At least 1/500 s, especially with a telephoto lens | Treat this as the floor for perched birds, not a target for every situation |
| Slow-moving small bird | Perched speeds are enough once it starts hopping | About 1/1000 s | Raise the speed as soon as a bird starts moving between perches |
| Bird in flight | Any fast-looking setting will freeze wings | At least 1/2000 s; 1/2500 s, 1/3200 s or 1/4000 s for high-speed flight | Start at the minimum for larger, slower birds and move up for small, quick ones |
| Dawn and dusk, when most animals come out | Dim light means accepting a slow shutter speed | Hold the speed for your subject and raise ISO only as far as needed, since higher ISO adds noise | Plan for the trade-off before the light drops, not after |
The shutter figures come from the Digital Photography School bird photography settings guide, and the dawn and dusk activity pattern from Nature TTL’s wildlife photography guide.
Dawn and dusk also bring the soft, low-angle light that flatters fur and feathers. Golden Hour Photography: Capture Stunning Light Every Sunrise And Sunset (Practical Tips For 2026) explains how to use that window.
Exposure mode, aperture and ISO
Aperture Priority is a popular wildlife mode because you choose the aperture and ISO while the camera selects the shutter speed, as Digital Photography School describes it. The catch is that the shutter speed becomes the one number you do not control directly, so check it against the table whenever the light changes. If it falls below what your subject needs, raise the ISO or open the aperture.
Keep ISO as low as the situation allows, because higher ISO means more noise. For aperture, there is no need to shoot wide open all the time. For birds, f/6.3 or f/7.1 still gives pleasant background blur and enough depth of field to keep the body sharp.
Autofocus and sharp bird-in-flight shots
Sharp bird-in-flight shots depend on continuous autofocus plus a shutter speed fast enough to freeze the wings. The reason is simple: Nature TTL notes that birds move fast and change their position relative to your plane of focus rapidly, so a focus point locked once will not stay accurate. Understanding focus modes and framing the subject quickly matters more than any single menu setting.
- Myth: single-shot autofocus is more accurate. For moving animals, set the autofocus mode to AF-C, which Canon cameras call AI-Servo, so the camera keeps refocusing while you track.
- Back-button focus lets you hold focus on demand. Assigning tracking to the AF-ON button and holding it while you follow the bird separates focusing from the shutter release. The setup changes from camera to camera, so check your manual for the exact menu steps.
- More frames per second is not automatically better. Continuous shooting rates generally run between 5 and 30 frames per second, but the camera’s buffer can fill quickly and block further bursts until images finish processing. Shoot short bursts around the peak moment instead of holding the button down.
- Size changes the speed you need. Bigger birds tend to be slower than smaller ones, so a large wader may need less extreme settings than a small, quick songbird.
Unless the light is extremely bright, you will often need to hold the shutter speeds shown in the table above, so lighting and ISO should be planned around them rather than the other way round.
Lens choice and support
A telephoto lens is the core wildlife lens, because it fills the frame without making you walk closer to the animal. How much reach you need depends on the species and how far it will tolerate you, so think of focal length as a way of buying distance. Focal Length Explained: How Lens Choice Shapes Your Photos (A Simple Guide for 2026) shows how focal length changes framing and perspective if you want the underlying principle.
Cheaper is not always better value at long focal lengths. Nature TTL points out that budget lenses typically have inferior optics, in particular with longer lenses. If the budget is tight, a modest lens used well beats a stretched long zoom that never looks crisp, and it is worth reading reviews of the specific model before buying.
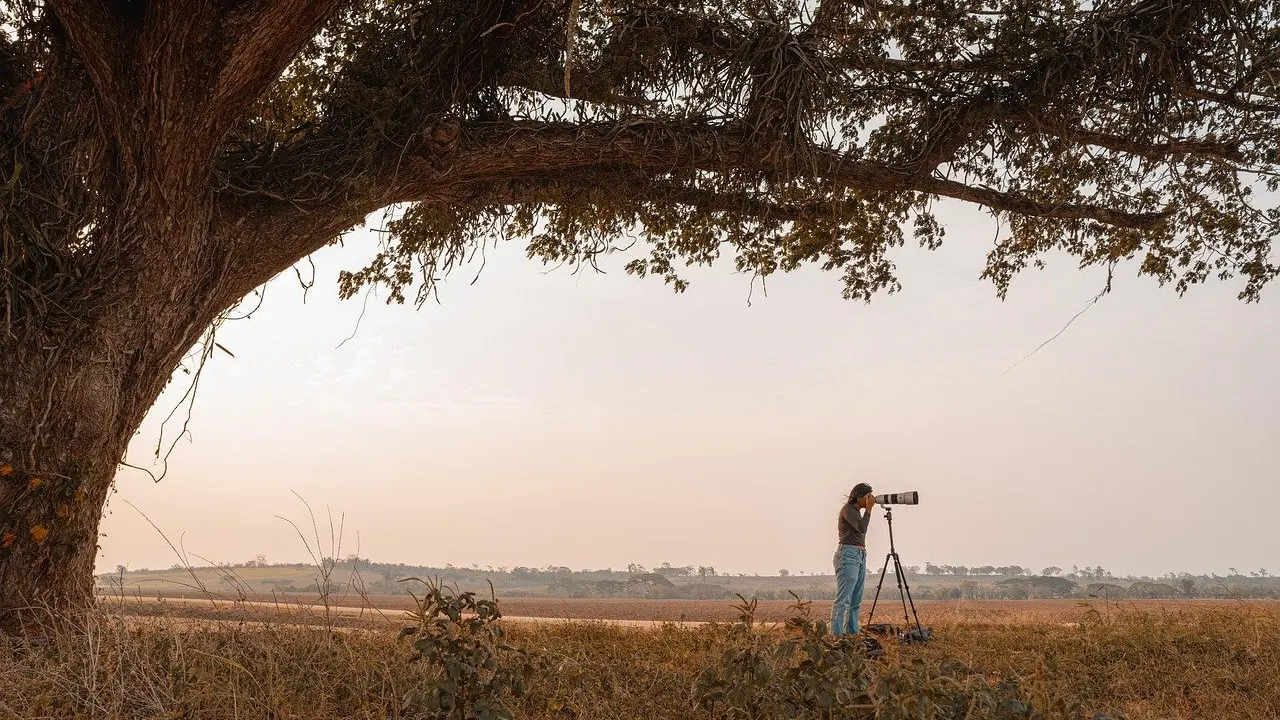
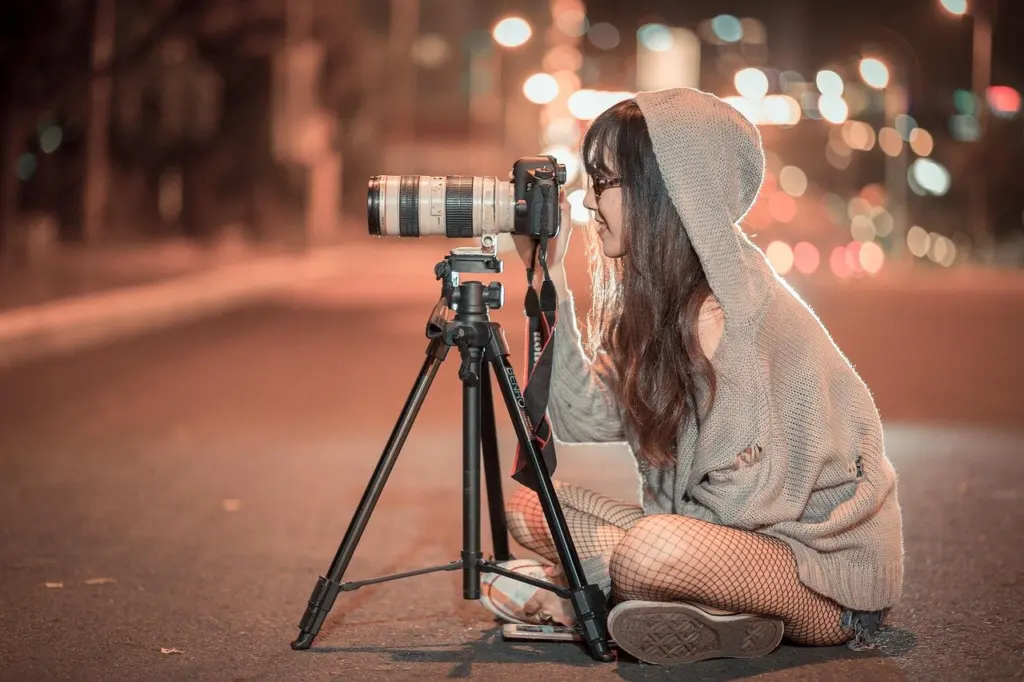
A long lens is front-heavy and amplifies movement, so a tripod or monopod helps keep it steady while you wait for an animal to appear. This also frees you to watch behaviour instead of fighting the weight of the kit.
Ethical distance and approach
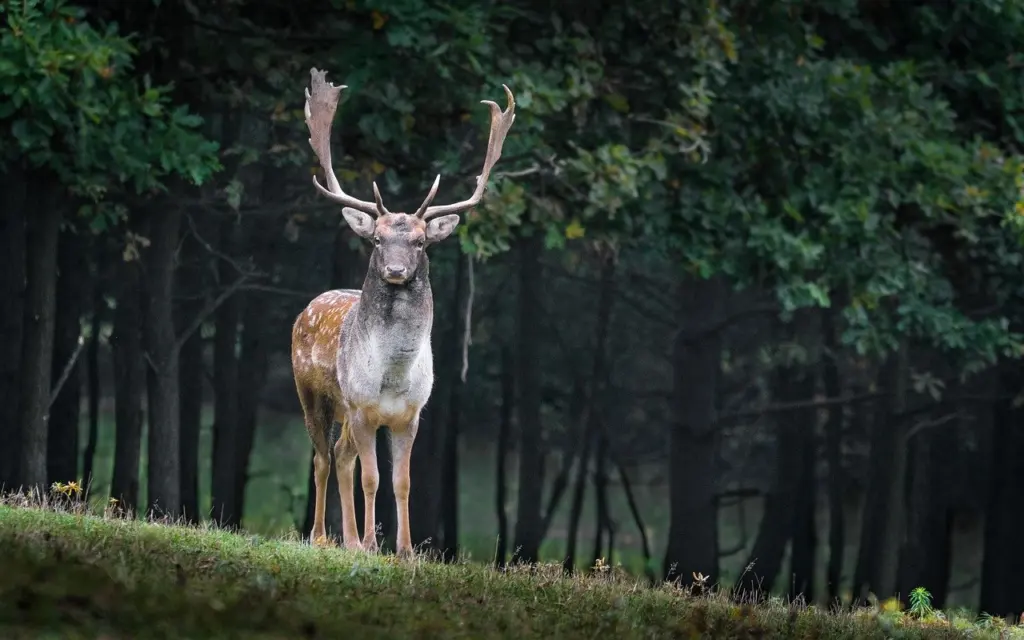
Approaching animals ethically means letting them set the distance, not the lens or the photographer’s eagerness. The best-known guidance is also the simplest: National Geographic advises that you only need to behave like a guest and you will be accepted. That shifts the goal from winning an animal over to causing as little disturbance as possible.
- Move slowly and quietly. This avoids spooking animals and putting them under undue stress, according to Wild Tree Outdoor.
- Learn the signs of discomfort. Excessive movement, vocalizations or a change in posture all indicate that the animal is uneasy. If you see them, stop, back away and let the animal settle.
- Check the rules before you go. Look up any distance regulations in places such as National Parks, since the legal minimum can be stricter than your own sense of comfort.
- Get down to eye level. Contributors on the iNaturalist forum recommend dropping to the animal’s eye level, which also tends to give a less distracting background. This improves the picture without any step closer.
Together these habits make ethical distance a practical part of fieldcraft: the animal keeps behaving naturally, and natural behaviour is what makes a wildlife frame worth keeping.
Frequently asked questions
| Question | Answer |
|---|---|
| Which aperture keeps a bird’s body sharp? | Digital Photography School suggests f/6.3 or f/7.1, which still gives decent background blur and enough depth of field for the whole bird. See the bird photography settings guide. |
| Can I always choose a faster shutter speed to be safe? | Not freely, because a faster shutter speed darkens the exposure. Unless the light is extremely bright, you will often need to stay at the recommended speeds and balance the rest with ISO. |
| Should I share where I photographed a rare animal? | Not if the species is targeted by collectors. The iNaturalist forum advises against sharing specific spots or details for poached species such as box turtles. |
| Does standing farther back weaken the photo? | Not necessarily. National Geographic notes that it sometimes helps to take some distance, which shows the animal within its habitat. |