how to print wallet size photos is a common question for people who need small, sharp prints fast. This guide explains steps, settings, and options. It shows how to pick an image, set resolution, choose paper, and print at home or via a lab. The instructions stay simple and direct. They let anyone make consistent 2.5″×3.5″ wallet-size photos with good color and clear detail.
Key Takeaways
- A wallet-size photo measures 2.5″×3.5″ and is ideal for IDs, wallets, and small frames due to its compact size focusing on the face.
- Selecting a high-resolution photo with good lighting and cropping it to a 5:7 aspect ratio ensures clear and well-composed wallet-size photos.
- Set print settings carefully by specifying the exact 2.5″×3.5″ size, resolution, and color profile to maintain detail and accurate colors.
- Choose printing methods based on your needs: home printers offer speed, photo labs provide consistent quality, and online services are cost-effective for bulk orders.
- Preview prints before finalizing to check for proper cropping, margins, and sharpness, saving presets for consistent future printing.
What Is A Wallet-Size Photo And When To Use It
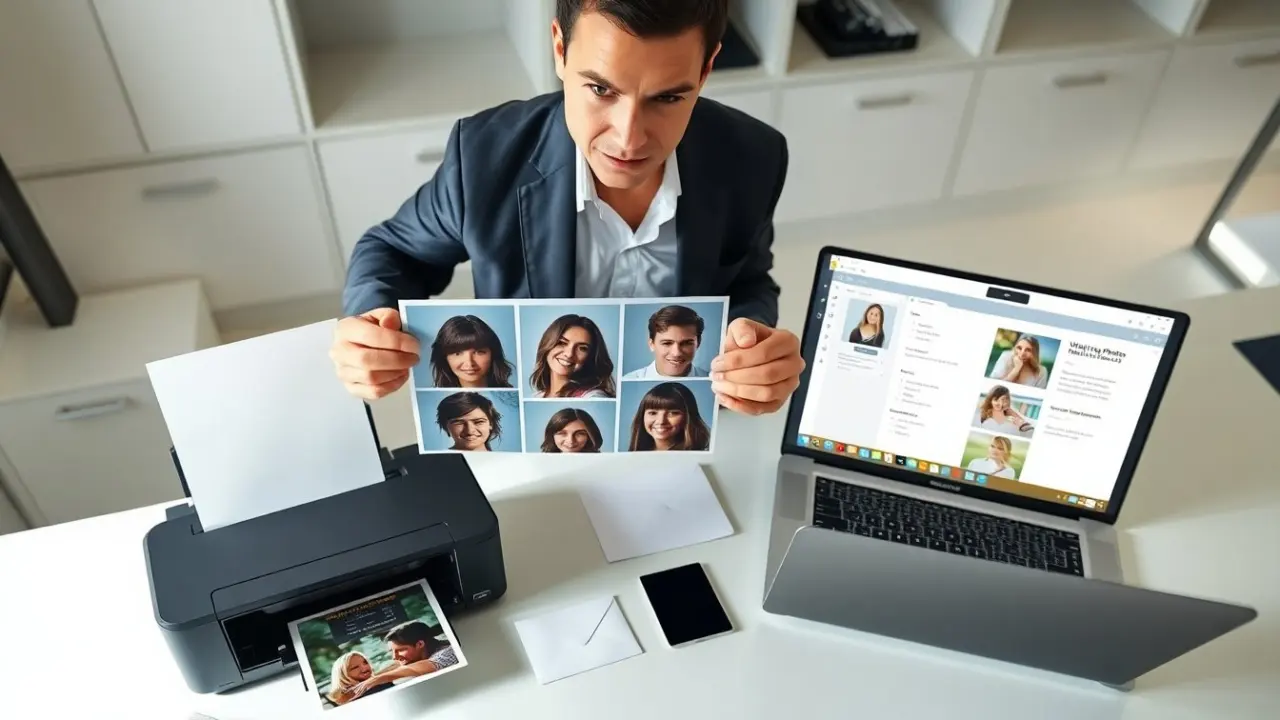
A wallet-size photo measures 2.5″ by 3.5″. People use this size for wallets, IDs, small frames, and envelopes. The format fits six common photos on a 4″x6″ print when arranged smartly. They choose wallet photos for keepsakes, quick IDs, and mailers. The small size makes the face the main subject. They should avoid busy backgrounds and tiny props. A clear face at moderate distance gives the best result.
Beyond personal keepsakes, wallet-size photos are useful for application packets, school projects, and travel documents where a compact, standardized image is required. When using them for identification, check any size or head-position requirements from the requester; sometimes a specific head height or background color is needed. For creative uses—like mini-portraits in zines or wallet inserts—consider slight variations in composition while keeping resolution high so detail remains after printing and trimming.
Choose The Right Photo And Crop For Wallet Size
They start with a high-resolution image. The photographer should pick a photo with a clear subject and good light. They crop to a 5:7 aspect ratio to match 2.5″x3.5″. They place the subject off-center if they want headroom. They check that eyes fall near the upper third of the crop. They remove distracting elements before printing. If the image shows noise, they apply light noise reduction. They avoid heavy filters that change skin tones.
Practical cropping tips: use guides or overlay a 5:7 frame in your editor so you can judge composition before you crop. Leave a little breathing room around the head — if you plan to trim after printing, allow for a small margin. If you want multiple wallet photos per sheet, prepare a layout with exact 2.5″×3.5″ boxes so the printer will place each copy correctly. When retouching, prioritize clarity: modest sharpening and contrast adjustments help small prints read better, but keep adjustments subtle to avoid halos or oversaturation.
Set Up Print Settings: Resolution, Size, And Color Profile
They use correct settings in the print dialog. They set the final size to 2.5″×3.5″. They pick a resolution that keeps detail. They choose the right color profile for the printer or lab. They preview the print to check crop and margins. They enable any print sharpening only if the file looks soft. They confirm the paper type to match the profile. They save these settings as a preset for repeat prints.
Recommended technical settings: aim for 300 DPI (dots per inch) or higher at the final 2.5″×3.5″ size to preserve facial detail; that means the image file should be at least about 750×1050 pixels. In the print dialog, disable automatic scaling or “fit to page” unless you’re arranging multiple copies, and set units to inches to precisely enter 2.5″×3.5″. For color, use sRGB for general-purpose prints and follow the lab or printer’s ICC profile if they provide one — matching profile and paper type reduces surprises in color and contrast. If your printer software offers media-specific color management, choose the paper type you plan to use (e.g., glossy, luster, matte) so the printer applies the correct ink limits and rendering intent.
Preview and test: always run a small test sheet at the same paper and settings before committing to many copies. Check sharpness at normal viewing distance and under the light conditions where the prints will be used. If prints look too dark or too bright compared to your screen, adjust brightness or use soft-proofing in your editor when possible to simulate the final output.
Printing Methods: Home Printer, Photo Lab, Or Online Service
They choose a method based on speed, cost, and quality. Home printers give fast control and low volume cost. Photo labs deliver consistent color and accurate cuts. Online services often offer lower prices for bulk orders. They compare prices per print, turnaround time, and shipping. They read reviews for color accuracy. They check lab file requirements before upload. They consider pickup at a local lab for same-day prints.
Home printing: best for quick jobs and one-off copies. Use high-quality photo paper and check the printer’s maintenance status (clean heads, recent ink cartridges). Select the printer’s photo paper setting and highest quality mode for small prints — this reduces banding and improves tonal gradation. If you have to trim, use a sharp paper trimmer for straight, clean edges.
Photo labs and online services: labs often provide superior color consistency and exact cutting, which is useful when you need many identical wallet photos. Online services can be more economical for large runs and may provide templates for multiple copies per sheet. Before ordering, download or inspect the service’s upload guidelines (file dimensions, color space, bleed requirements) and order a proof if color-critical work is involved. For fast local needs, check if a nearby shop offers same-day pickup to avoid shipping delays.
Troubleshooting and finishing: if prints come out too warm, try a cooler color profile or adjust white balance slightly. If details look soft, increase sharpening in your editor targeted for print-sized output. After printing multiple copies on a larger sheet, use a guillotine or rotary cutter for evenly trimmed edges. Store extra prints flat in a cool, dry place and keep digital presets for size, DPI, and color profile so you can reproduce the results consistently.