A phone in your pocket, a camera in the bag and a stack of AI tool offers: which ones help? AI in photography pays off when it saves editing time or rescues difficult light, and it fails when it replaces your judgement.
- Phone shooters: stacking, HDR and night mode already run automatically, so treat them as the default and move to a dedicated camera only when you need to control the result yourself.
- Editors: use AI for selection, masking, noise and batch edits, then inspect every result against the edit you would have made by hand.
- Anyone tempted by generators: treat generated scenes as illustration, label them honestly and keep real photographs as the core of your portfolio.
This page is the starting point for the wider imaging cluster. It sorts the technology by what you are trying to achieve, tells you which tools are worth testing first, and sends you to a deeper guide when a topic needs more room.
Choose your starting route
The most useful way into the subject is by goal, not by gadget. Pick the route that matches your next shoot or your next editing session, and read the others later.
- You mostly shoot on a phone. Start with the computational photography section, then decide whether a phone is enough for your kind of work.
- You edit a lot and want it faster. Go to the editing tools section, then the testing routine that follows it.
- You retouch, remove objects or composite. Read the generative fill section, which explains where generated pixels help and where they create problems.
- You deliver large batches. Head to the batch workflow section for style-learning editors and culling.
- You publish or sell images and care about trust. The authenticity section covers labelling and checking.
- You shoot from the air or with specialist sensors. The final section routes you to drone, thermal and three-dimensional capture guides.
A single principle runs through every route. A new imaging technology earns its place only if your results are better, or equally good and quicker, than the traditional gear and workflow it replaces. Where it does neither, skip it.
Computational photography on a phone
Computational photography means the phone does not simply record one exposure and save it. It captures several frames or analyses the scene, then processes the result into a single picture. A December 2024 explainer on how AI enhances smartphone camera performance says AI powers these techniques and significantly improves image quality. If you want the full mechanics, what is computational photography goes through them in detail. The practical question here is narrower: which of these processes change the pictures you actually take?
Stacking, HDR and night mode
Three techniques do most of the visible work. Image stacking combines multiple rapid shots to reduce noise and increase dynamic range. HDR processing analyses and blends multiple exposures so that highlights and shadows stay balanced. Night mode algorithms brighten the image, reduce noise and enhance detail in low light, according to the same explainer.
The common thread is that one press of the shutter produces a blend of frames rather than a single capture. That is why a phone can produce a clean, balanced image in a scene that would punish a single quick exposure. It also explains the main trade-off. The final picture is an interpretation built by software, so you get less say over how highlights, shadows and noise are balanced than you would if you chose each exposure yourself.
The sensible way to use this is to leave the automatic processing switched on for ordinary scenes and to be deliberate in the two situations where it is most visible: dim light and high-contrast light. In both, shoot the same scene with the processing on and, where the phone allows it, off or in a more manual mode, then compare the files at full size. If the processed version is cleaner and the difference matters at the size you publish, you have your answer for that kind of scene.
Portrait, zoom, motion and object removal
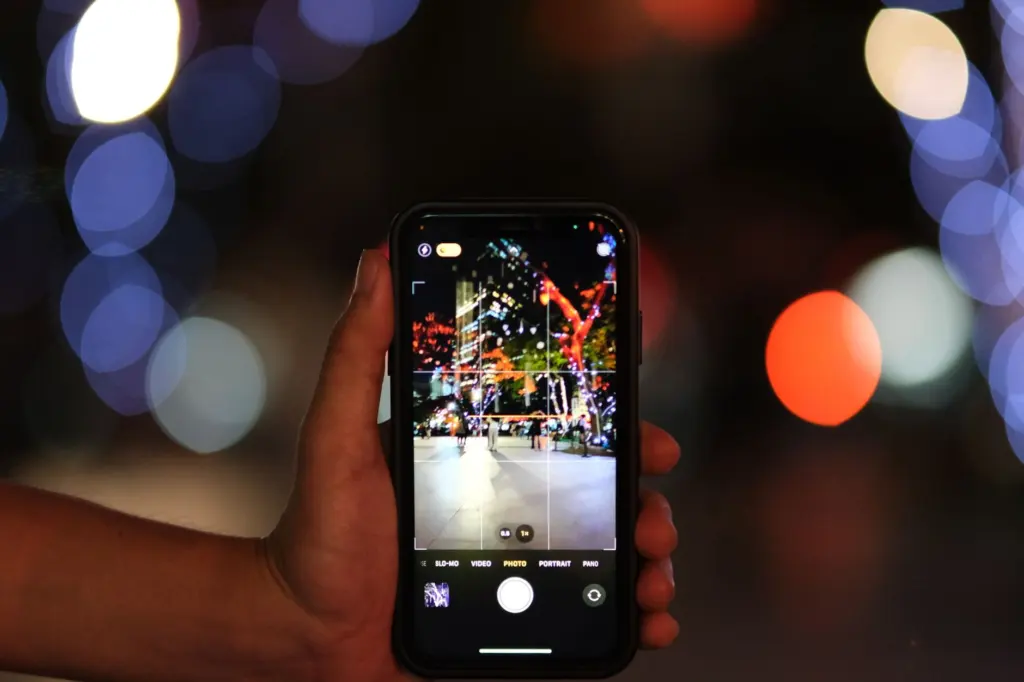
Beyond exposure, phones now apply AI to specific looks. Portrait mode separates subject from background and applies a natural blur. Super Res Zoom enhances digital zoom quality through processing. Motion capture predicts movement so that action shots come out sharp. Object removal can intelligently remove unwanted elements from photos.
Each of these replaces a traditional skill or piece of kit with software. Portrait mode stands in for a fast lens, the zoom processing stands in for reach, and object removal stands in for manual retouching. Judge them by that standard. Portrait blur is worth using when the edge between subject and background looks clean at the size you publish. Zoom processing is worth using when the alternative is not getting the shot at all. Object removal suits quick cleanups for casual sharing, but check any area where the phone had to invent detail.
Phones also capture motion differently from a still camera. If you are curious about frame picking, burst and long-exposure effects, what is a live photo explains how those features work and when they are useful.
Smartphone feature comparison
The table below turns the main phone processing features into planning decisions.
| Feature | What the phone does | Planning use |
|---|---|---|
| Image stacking | Combines multiple rapid-fire shots to reduce noise and increase dynamic range | Leave on for general shooting; compare against a single frame when you need to control the result yourself |
| Night mode | Brightens images, reduces noise and enhances detail in low-light conditions | Use for dim scenes you would otherwise skip; check detail at full size |
| HDR processing | Analyses and blends multiple exposures for balanced highlights and shadows | Useful in high-contrast light such as a bright sky over a dark foreground |
| Portrait mode | Distinguishes subject from background and applies a natural blur | Inspect hair and edges before trusting the cutout |
| Super Res Zoom | Enhances digital zoom quality through intelligent processing | Fine for casual framing; it is processing of a digital zoom, so judge it at your output size |
| Motion capture | Predicts movement to capture sharp action shots | Try it on children, pets and sport before committing to it for important moments |
| Object removal | Intelligently removes unwanted elements from photos | Good for quick cleanups; zoom in on the repaired area |
These descriptions come from the December 2024 smartphone AI explainer.
Can a smartphone replace a camera?
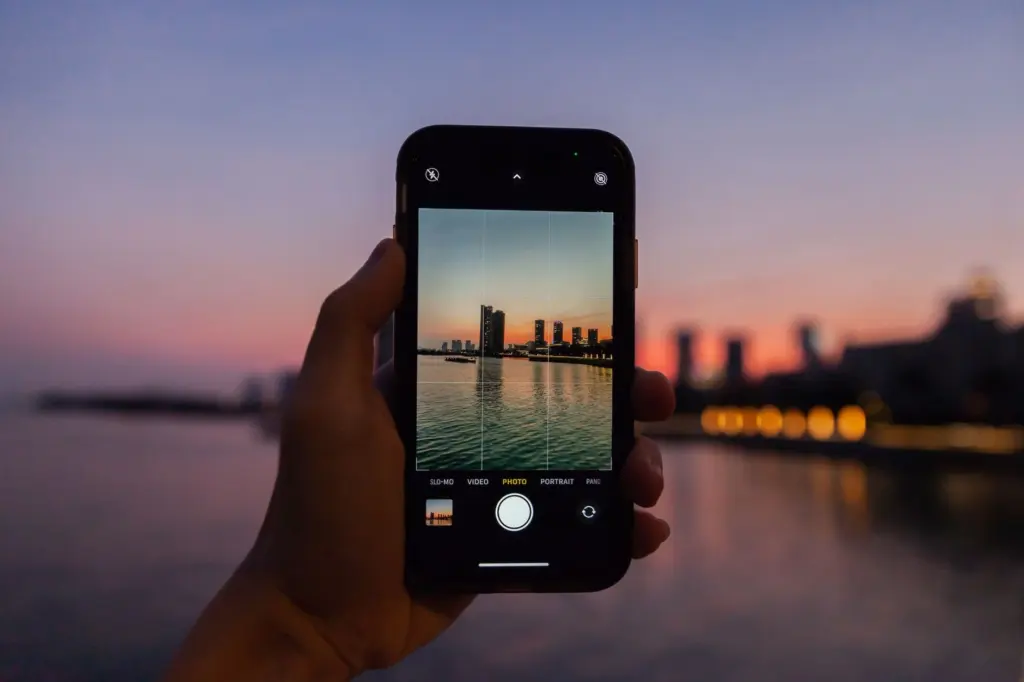
It depends on what you photograph and how much control you want. For everyday scenes, travel snapshots and low-light moments, phone processing delivers results that used to need more equipment. For work where you want to decide how the image is built, a dedicated camera still has the advantage.
One point narrows the gap from the other side: AI is not exclusive to phones. The School of Photography notes that camera features such as subject detection, intelligent autofocus and real-time scene recognition improve sharpness and exposure automatically. So the comparison is not AI against no AI. It is a phone’s heavily processed blend against a camera that offers similar assistance with more manual say in the result.
When a phone is enough
- You share at screen size. Stacking, HDR and night mode are designed to deliver a clean, balanced picture straight out of the device, which suits social posts, family albums and quick documentation.
- The light is difficult but the subject is still. Night mode brightens, reduces noise and enhances detail in low light, so a phone can handle dim scenes without extra kit.
- Speed matters more than control. Automatic scene handling and movement prediction suit moments you cannot stage twice.
When to keep a dedicated camera
- You need to choose how the image is built. A phone merges frames and exposures for you. If your style depends on a particular exposure or tonal look, you will want a workflow in which you decide.
- You rely on optical steadiness. Software stacking is one way to deal with shake. Hardware stabilisation is another, and how does ibis work explains the camera-side approach so you can judge which suits your shooting.
- Zoom is central to your subject. Super Res Zoom improves digital zoom through processing. If distant subjects are your main work, test that processing at your final output size before you leave other gear behind.
A fair test is to shoot the same three scenes on both devices: a dim interior, a bright scene with deep shadow, and a moving subject. Compare the files at the size you deliver. If you cannot tell them apart there, the phone is enough for that kind of work, and the extra gear is only worth carrying when your jobs need the control it gives you.
AI photo editing tools
AI in editing software is best judged by the job it does. As the Professional Photo Online overview of AI in photography from January 2024 puts it, photographers can now automatically adjust exposure, contrast and colour balance. That is the entry-level benefit: the software gives you a competent starting point and you refine it.
What each kind of tool does
Rather than asking which program is best overall, match the tool to the task.
- Automatic adjustment. AI algorithms can set exposure, contrast and colour balance for you. It is the quickest way to get a batch of similar images to a sensible baseline.
- Selection and masking. Adobe Photoshop’s AI-powered tools, such as Adobe Sensei, can be used for tasks like selecting and masking objects, and for creating alternative compositions. Adobe also lists AI masking and Denoise in Lightroom, according to The School of Photography.
- Noise and detail. Lightroom, Luminar Neo and Topaz Photo AI use machine learning to select subjects, remove noise and enhance details automatically, per the same article. Compare them on your own noisy files, because results vary with the image.
- Upscaling. Topaz AI Gigapixel is used for enlarging images without losing quality. Treat that as a claim to test: enlarge a file you know well and inspect fine texture such as hair and fabric.
- Style-matched batch editing. Imagen AI produces a full edit based on its engine learning how you have previously edited your photos. It suits photographers who deliver many images in a consistent look.
- Object removal. AI can intelligently remove unwanted elements from photos, a feature that now appears in phone cameras as well as editing software.
That answers the question many people start with, what are the best AI photo editing tools. There is no single winner. The best tool is the one that does your most repetitive job reliably, and the way to find it is to test candidates on the images that give you the most trouble. If you want a task-by-task walkthrough of using these features in an editing session, How To Edit Photos With AI: A Practical 2026 Guide To Faster, Better Images covers the practical steps.
Where AI editing helps most and least
AI editing helps most on repetitive, rule-like work: selecting a subject, building a mask, removing noise, setting a baseline exposure. These tasks have a recognisable right answer and an obvious way to check it. It helps least on decisions of taste, such as how dark a mood should be or which part of a frame deserves emphasis. A February 2024 piece in FOMU’s Trigger notes that AI image generators are guided by the dominant visual representations of people, places and things. That is a useful warning for any tool that learns from data. Left on automatic, it will tend towards the familiar look, not yours.
Generative fill and image generators
Generative fill is the feature that blurs the line between editing and creating. Adobe lists Generative Fill alongside AI masking and Denoise among its Lightroom and Photoshop features, according to The School of Photography. In practice it fills a selected area with newly generated content, which makes it powerful for extending backgrounds or removing distractions. The step-by-step workflow, and the situations where it breaks down, are covered in how to use generative fill in photoshop.
Editing versus generating
Generative fill and a text-to-image generator both create pixels, but they sit in different places in your workflow. Generative fill works inside a photograph you took, so most of the frame remains yours. A text-to-image generator creates the whole picture from a prompt. The School of Photography observes that generic stock-style scenes can now be generated from prompts in DALL·E, Gemini or Midjourney in seconds. That is a real threat to commodity imagery and a reason to put your effort into work a prompt cannot reproduce, such as a specific person, place or moment.
The Professional Photo Online article noted that, at the time of its January 2024 publication, Midjourney was in beta and accessible only through Discord. Tool access changes quickly, so treat any specific access arrangement as something to confirm before you build a workflow around it.
Judging generated and filled content
Output quality depends on the data a generator draws on. An Aperture essay from March 2023 says results can range from the real to the uncanny. For your own use, that suggests a simple rule: always look at generated areas at full size, and check hands, text, repeated patterns and edges where the generated area meets the original. A small fill on a plain background, such as sky or wall, is the lowest-risk use. A large fill in a complex, detailed area is where the weaknesses are most likely to show.
Compare the fill with the traditional alternative on the same image. If a conventional retouch gives a result you trust in a similar time, there is no gain in switching. If generative fill saves substantial effort and the result survives full-size inspection, keep it for that kind of job.
Testing whether a tool earns its place
The fairest evaluation compares a tool with your existing method on your own images. Marketing demos use well-chosen examples. Your files, with their awkward light and difficult subjects, are the real test. Use the following routine for any new tool, whether it is an editor, a plugin or a feature in your camera.
- Choose three images you have already finished by hand. Pick one easy, one typical and one difficult. You know what a good result looks like for each.
- Run the tool with default settings first. The default is what you will get on a tired evening, so judge it before you start adjusting.
- Compare at the size you deliver, then at full size. A result that looks fine on a phone screen can fail in a print or a large crop.
- Time the whole job, including corrections. A tool that is fast but needs repairs on most images may save little.
- Keep the original and note what was changed. This keeps the workflow reversible and makes disclosure straightforward later.
- Decide per task, not per brand. A tool may suit masking but not noise removal. Adopt it only for what it does well.
This routine also explains why style-learning tools deserve extra scrutiny. When a tool learns your previous edits, as Imagen AI is described as doing, it is only as good as the consistency of those edits. If your style has changed, train it on recent work, not on your whole archive.
A related point concerns whose data is behind a tool. The Aperture essay explains that early generative adversarial networks, or GANs, allowed artists to compile personalised data sets, for instance from their own archive of images. By contrast, text-to-image generators depend on massive data sets no single artist can compile. For a photographer, that is the difference between a tool that extends your own look and one that returns the averaged look of a large dataset. The FOMU article makes the same point from the other direction: photographers can expand the dataset, while AI can only repeat it. That is a useful reason to keep making distinctive work in front of the camera.
Big shoots and batch workflow
Weddings, events and sport produce more frames than anyone wants to inspect one by one. This is where AI saves the most time, provided you keep a human check at the end. Two stages are worth separating: choosing which frames to keep, and editing the keepers.
For the first stage, best ai photo culling software compares the dedicated culling tools so you can see which suit your volume and style. For the second, a style-learning editor such as Imagen AI applies an edit based on how you have previously edited your photos. It works well when a shoot has consistent light and when your past edits show a clear, steady look.
- Sample before you batch. Run the tool on a handful of representative frames first. If the sample needs heavy correction, the batch will too.
- Review the keepers manually. Automatic selection can miss the one expression or moment that matters, so scan rejected frames quickly before deleting anything.
- Keep exceptions separate. Frames shot in unusual light or with a special effect usually deserve a hand edit, not an automatic one.
If the result of this process is that you spend less time at the computer and your clients see the same quality, the tool has earned its place. If you spend that time fixing the output, go back to your manual routine for that kind of work.
Authenticity, labelling and trust
As AI becomes part of capture and editing, readers and clients increasingly want to know what they are looking at. The Professional Photo Online article reported that proposed AI metadata tags for EXIF had not been widely adopted or standardised. In practice, that means a file’s metadata cannot be relied on to say whether AI was used, so your own disclosure carries the weight.
A workable policy is simple. Keep the original capture and an edit history. Say plainly when generative content has been added to a photograph, and say when an image was generated from scratch. Tell clients before you use generative tools on their commissioned work, not afterwards. For documentary and news-style work, avoid adding generated content to the subject area of the image at all.
The checking side matters just as much. When you receive an image and doubt its origin, how to tell if a photo is ai generated offers a practical checklist. Use it alongside the original file and context, and not as the only evidence. An artist quoted in the Aperture essay, Minne Atairu, also cautions that coded biases and stereotypes cannot be eradicated by tweaking text prompts and curated selections. That is a reminder to examine who and what a generated image shows, not just whether it looks polished.
Aerial, thermal and three-dimensional capture
Some of the most interesting imaging technology sits outside the phone and the standard camera. These branches have their own equipment, rules and skills, so they are better served by dedicated guides. Start with the one that matches your goal.
Drones
- Learning to fly. How To Fly A Drone: A Beginner’s Guide To Safe, Confident Flights In 2026 is the place to begin if you have never flown one.
- Shooting better aerials. Drone Photography Tips: Capture Epic Aerial Shots Every Time (2026 Guide) covers composition and technique once you are comfortable flying.
- Understanding range. How Far Can A Drone Fly? Real-World Range Explained (2026 Guide) explains what limits how far a drone can go in practice.
- Working for clients. Real Estate Drone Photography: How To Capture High-Converting Aerial Listings In 2026 and Drone Wedding Photography: Breathtaking Aerial Shots That Tell Your Love Story (2026 Guide) cover two common commissions, and Start A Profitable Drone Photography Business In 2026: A Practical Guide addresses turning aerial work into a business.
The same test applies here as everywhere else on this page: add a drone to your kit when it lets you deliver images you could not get otherwise, and not because the technology is appealing in itself.
Thermal, infrared and photogrammetry
Specialist sensors record more than visible light. If you are unsure which is which, infrared vs thermal camera explains the difference and how photographers use each. Meanwhile, what is photogrammetry introduces the technique of turning ordinary photographs into models, which suits anyone who wants to put capture skills to technical use.
Frequently asked questions
| Question | Answer |
|---|---|
| Are AI-generated images photographs? | No. FOMU’s Trigger says that although AI-generated images are not photographs, they can be photorealistic. Label them as generated. |
| Can generative tools work from my own image archive? | Some can. The Aperture essay describes GANs as letting artists compile personalised data sets, such as a photographer’s own archive. Text-to-image generators instead rely on massive data sets that no single artist can compile. |
| Can better prompts remove bias from generated images? | Not according to artist Minne Atairu, quoted by Aperture, who says coded biases and stereotypes cannot be eradicated by tweaking text prompts and curated selections. |
| Is Midjourney only available through Discord? | That was the case when Professional Photo Online reported on it in January 2024, while the tool was in beta. Check the current access arrangement before relying on it. |