| Decision | Supported effect or value | Planning use |
|---|---|---|
| Order of adjustments | Basic adjustments come before curves, sharpening and specific colour adjustments | Fix overall tone first, so every later step is judged on a stable base. |
| Capture format | RAW retains maximum flexibility in the image | Shoot RAW whenever the picture will need real tonal work. |
| Working bit depth | Edit in 16-bit | Keep the working file at 16-bit and reduce depth only when saving a JPEG. |
| Clipped highlights | Press Alt+Cmd while dragging the Recovery slider to preview hot spots; offset heavy Recovery with Exposure | Use the preview to see what a recovery move actually touches before you commit. |
| Web delivery | Convert to sRGB and 8-bit before saving a JPEG | Make the colour-space and bit-depth conversion the last step, not the first. |
| Working colour space | Adobe RGB is a wider gamut than the internet’s sRGB | Adobe RGB suits a working file, but sRGB is what a web image needs. |
The order of adjustments comes from The School of Photography’s Lightroom tutorial, and the remaining rows from Digital Photography School’s professional workflow tips.
How to edit photos like a pro comes down to order: set white balance and tonal base on a RAW file, apply global Basic adjustments before curves, sharpening and colour, then use masks for local fixes and convert to sRGB only at export.
If you are still learning the interface, start with the overview of photo editing for beginners, then return here to tighten the sequence into a routine you can repeat on every shoot.
What editing order changes in practice
The best order to edit a photo runs from global to specific. The School of Photography’s Lightroom walkthrough goes through the Basic adjustments first before adding curves, sharpening and specific colour adjustments. That sequence is useful for a practical reason. Each later step is judged against tones you have already settled. If you sharpen or grade colour before the exposure is right, you will probably have to redo that work once the tones move.
The order also protects your time. Colour work done early gets disturbed by every later exposure change, and the same is true of sharpening. Treating the Basic panel as the foundation and everything after it as refinement means fewer reversals.
A working sequence
- White balance and overall exposure. These set the base that everything else depends on. Get them close before you touch anything else in the Develop module.
- Tone shaping with curves. Use curves once the Basic panel has done the broad correction, to add the finer contrast you want.
- Sharpening. The tutorial places it after the tonal work, so sharpen on a picture whose exposure and contrast are already final.
- Specific colour adjustments. Leave targeted colour moves until last in the global stage, when tone is no longer shifting underneath them.
- Local edits with masks. Finish with region-specific work, covered below.
Slider amounts depend on the individual frame, so treat the order as the repeatable part and the numbers as something you judge by eye and by the histogram.
RAW files, the histogram and the tonal base
Editing a RAW file gives you the room to correct mistakes. A LinkedIn Learning Lightroom Classic course notes that RAW files can offer a tremendous amount of flexibility that allow you to reach in and truly recover details. Digital Photography School gives the same advice more briefly: shoot RAW too to retain maximum flexibility in images, and edit in 16-bit.
Reading the histogram
The histogram tells you how much tonal range the file holds. In the same course, a RAW file whose histogram covers a very broad area is the case where dynamic range can be improved. In the example shown there, an auto adjustment visibly improved the shadows and the white point. Treat auto as a starting point you can inspect on the histogram, then refine by hand.
Pushing past the target and pulling back
The instructor’s approach to RAW edits is to overshoot the mark and then pull it back. That suits anyone who struggles to judge a slider at a small move. Exaggerating an adjustment shows you what it is really doing to the image, and backing off leaves a result that looks controlled rather than forced.
Highlights and Recovery
When highlights look suspect, Digital Photography School suggests pressing Alt and Cmd together while moving the Recovery slider, so the hot spots show as you drag. It also advises that if you use Recovery too much, you should compensate with the Exposure slider. The practical lesson is that a heavy Recovery move often means overall exposure is wrong, so correct exposure rather than leaning on one slider.
Choosing between bracketing and a single RAW
- Single RAW. This is enough when the histogram sits comfortably inside the frame and the tonal range of the scene is modest.
- Bracketed exposures. The same workflow guide describes exposures bracketed at -2, 0 and +2 to cover a scene’s dynamic range. Choose this when a single exposure cannot hold both highlights and shadows.
White balance across a series
For a set of frames shot in the same light, work on one image and share the result. Digital Photography School advises that you select the best and most evenly exposed frame and set your white balance, then synchronise the others. This gives the series a consistent look and avoids slightly different colour casts from frame to frame.
Choose the reference frame carefully. A frame with blown highlights or crushed shadows makes a poor anchor, because the settings you copy will inherit its problems. After synchronising, check the odd frames out, for example any where the light changed, and adjust those individually.
Local adjustments and natural skin
Local edits come after the global stage because they should refine a corrected picture rather than rescue a bad one. According to Digital Photography School, masking selects targeted regions of the image for colour, contrast and exposure control. The same source gives the rule for layer masks: black hides the corresponding area of the layer, and anything not black shows through it. That means a soft grey in a mask gives a partial effect, which is what makes transitions look natural.
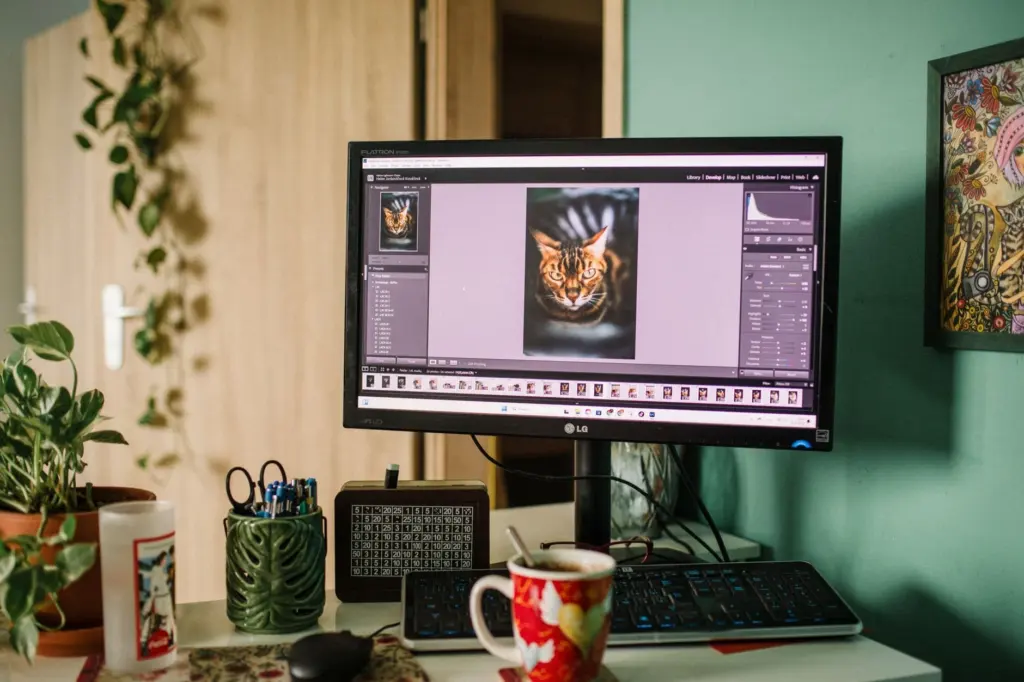
The same course includes a lesson on merging or combining masks for retouching, which is worth following once you move from simple gradients to shaped selections.

Editing skin without losing its look
Natural skin starts upstream. Get white balance right on the whole frame before you touch the face, because a colour cast cannot be fixed convincingly with local brushwork. Then use a mask limited to the skin so tone and colour changes do not spill into hair, clothing or background. Apply the overshoot-and-pull-back habit here too: push the adjustment until you see its effect, then reduce it until the face still looks like the same person in the same light. Comparing against the unedited frame is the quickest honesty check.
- Subtle fix needed. Use a masked adjustment of colour or exposure on the skin region only.
- Overall colour looks wrong. Return to white balance on the whole frame instead of compensating with local colour.
- Mask edges visible. Soften the transition, since non-black values in a mask blend the effect rather than switching it on abruptly.
Sharpening for a cleaner result
To make photos sharper, treat sharpening as its own stage, not a fix for exposure problems. In the tutorial order it comes after the Basic panel and curves, which means you sharpen a picture whose tones are already settled. A dedicated lesson in the LinkedIn Learning course, How do I sharpen a photo?, is a good next step when you want a worked demonstration. Because masks can target regions, you can also apply stronger sharpening to the areas that matter and leave smooth areas alone.
Export settings by use
Export is where the working file becomes something fit for its destination, so choose settings by use. Digital Photography School’s workflow keeps the working file wide and converts at the end: Adobe RGB is described as a wider colour gamut than the internet’s sRGB, and the pre-save step for a JPEG is to convert to sRGB and to 8-bit.
- Web JPEG. Convert to sRGB and 8-bit, since that is the colour space the internet uses. Keep your 16-bit working file untouched, so you can export again later.
- Photo-sharing sites. Size the export for the platform. The same guide gives 900 pixels across for 500px.com as its example, which shows that resizing for the destination is part of export, not an afterthought.
- Working master. Keep the edited file at 16-bit with the wider working colour space, and treat exports as disposable copies.
- Print. Print sizes and paper formats have their own demands. For small formats, see How To Print Wallet-Size Photos: A Quick Guide To Perfect 2.5″×3.5″ Prints, and for ID photos, How To Print Passport Photos At Home: A Simple Step-By-Step Guide For 2026.
The common pitfall is converting early. If you drop to 8-bit and sRGB before the tonal work is finished, you give up the headroom that RAW and 16-bit editing were meant to preserve.
Habits that keep the workflow repeatable
A pro look comes mostly from consistency, and consistency comes from doing the same things in the same order. Write the order down, shoot RAW, synchronise white balance from the best frame, and finish with conversions rather than starting with them. When a picture does not respond, go back one step to the Basic panel rather than adding more local fixes on top.
Before and after comparison is the most useful self-check. Flip between the original and your edit after each stage, and ask whether the change is something the viewer would notice as an edit. If it is, pull back, as the overshoot technique suggests.
Frequently asked questions
Why overshoot an edit and then pull it back?
Exaggerating a slider shows what it does to the image. A LinkedIn Learning Lightroom Classic instructor finds that overshooting the mark and then pulling it back gives the results wanted from RAW files.
Does a wide histogram mean the photo is better?
No. A histogram covering a very broad area signals that a RAW file has dynamic range to work with, which is an editing opportunity. It says nothing about composition or whether the tones look natural.
Which colour space and bit depth should a web image use?
sRGB and 8-bit. Digital Photography School’s workflow converts to both before saving a JPEG, after editing at 16-bit in a wider working space such as Adobe RGB.
Where can I find a walkthrough for skin tones or file size?
The LinkedIn Learning Lightroom Classic course has separate lessons on fixing skin tones, sharpening a photo, getting a smaller file size and preparing an image for social media.