You shot a weekend of photos and they look flat on screen. Photo editing for beginners starts with a simple order: shoot RAW, check the histogram, cull, correct white balance and exposure, then add colour grading and export.
Flat is normal. RAW files straight from the camera tend to look flat with muddy colours, and the fix is a short run of basic adjustments, not a heavier filter. This guide follows that run and ties each adjustment to the shooting choice behind it, so you know why you are moving a control as well as which one to move. For a fuller professional pass, see How To Edit Photos Like A Pro: A Practical 2026 Workflow For Sharper, Cleaner Images.
Choose your route through this guide
Most beginners arrive with one of four goals. Pick the route that matches yours and read the sections in that order.
- You want to edit properly from the first photo. Read the RAW and JPEG section, then the histogram, then the editing sequence. This is the longest route and the one that prevents the most mistakes later.
- You already have Lightroom open. Go straight to the Lightroom section, then return to the editing sequence to check that your adjustments follow a sensible order.
- You want to spend as little as possible. Start with the software comparison table, then use the editing sequence in whichever editor you choose. The sequence does not depend on the brand.
- You want a look, not just a correction. Finish the editing sequence first, then move to colour grading and presets. A grade applied to a badly balanced file only exaggerates the problem.
Whichever route you take, the shooting decisions come first, because they set how much room the editor has to work with.
RAW or JPEG: the decision that shapes your edit
RAW is the better starting file for editing, with one condition: it expects you to do the work. A JPEG arrives closer to finished but leaves less room to change your mind.
What RAW gives you
One professional editor describes the RAW format as essentially a digital negative that allows more leeway in the editing process. That leeway is the whole argument for shooting it. If you misjudged white balance or exposure in the field, a RAW file gives you more room to correct it than a JPEG would.
There is also a measurable difference in tonal range. According to Contrastly, RAW files have slightly greater dynamic range than JPEGs, and the same article notes that clipping tends to be more common in JPEGs, which is why it is worthwhile shooting RAW. Note the word “slightly”: RAW does not rescue a badly exposed frame, it gives you a modest extra margin.
Who should still shoot JPEG
If you will not open an editor at all, the extra flexibility of RAW does nothing for you, and the flat look straight from the camera is a cost with no payoff. If you plan to edit even occasionally, shoot RAW and accept that every frame needs at least basic adjustments. The reason is practical: you cannot go back and recapture a RAW-quality version of a JPEG you have already saved.
When you are ready to go deeper on this format, How To Edit RAW Photos: A Practical Workflow To Unlock More Detail In 2026 covers it step by step.
Reading the histogram before you edit
The histogram is the most reliable check on exposure, on the camera and in the editor. Contrastly defines it as a graphical representation of the pixels exposed in your image. Shadows sit on the left, whites on the right, and midtones in the middle around 18% grey.
Why the back-of-camera image misleads
Do not judge exposure by how bright the screen looks. The same source points out that LCD screens have brightness you can set yourself, so a photo can look right on a dim setting and be badly over- or underexposed. The histogram does not change with the screen setting, which is why it is the safer reference when you are choosing exposure in the field.
The shooting habit this supports is simple: glance at the histogram after a test frame, correct, then carry on. A few seconds there saves work at the desk, and it also shows you early if the scene has more contrast than the camera can hold.
What clipping means for your edit
When the graph piles up against either edge, the image is clipping. Contrastly is direct about the consequence: if you have clipping on your histogram you have a loss of data. In practice that means pale areas with no detail, or black areas with no detail, that no slider can bring back. Treat the edges of the graph as the limit of what the edit can fix, and treat the shooting stage as the place to avoid hitting them.
The editing sequence, step by step
A reliable sequence is cull, white balance, exposure and tone, retouch, then export. Working in this order matters because colour and brightness corrections come first, and finishing touches built on them stay consistent. The steps below follow the order described in a professional editing breakdown by Allison Busch.
Cull before you touch a slider
Culling is the step where you look through the photos and select the strongest images. The same guide describes it as removing redundant and out-of-focus shots. This ties directly to how you shot: if you took several frames of one scene to be safe, culling is where that habit pays off, because you pick the sharpest frame and delete the rest. Cull first so you never spend editing time on a frame you would not have kept.
Fix white balance
White balance corrects the colour temperature and tint of the image, and the stated goal is natural skin tones. If you shot RAW, the temperature and tint were not locked in at capture, which is exactly why you can move them now. Judge the result on skin or on something you know should be neutral. If a face looks too orange or too green, adjust temperature and tint until it looks natural, before you touch any other colour control.
Correct exposure and the tonal curve
The exposure step adjusts overall brightness and makes changes to the tonal curve. Look at the histogram while you do this. If you underexposed to protect a bright sky, the shadows will sit heavily to the left and you will lift them. If your camera screen made a frame look bright enough when it was not, the histogram shows you the true picture. Keep your adjustments modest: the data you captured sets the limit, and clipped areas will not recover.

Retouch, then export
Retouching comes after the global corrections so you are removing blemishes from an image that already looks right. Once you are happy, export. The same professional describes exporting images in high resolution from Lightroom; keep that full-size file as your master, and make any smaller web copies from it rather than editing the small version.
One habit that sharpens your eye: keep the straight-from-camera frame beside your edited version and compare them. If the edit looks worse next to the original, you have probably pushed a slider past what the file could support.
Editing photos in Lightroom
Lightroom suits you if you take lots of photos and want to edit them quickly and stay organised. That is how iPhotography frames the split: Lightroom for fast, organised editing of many photos, Photoshop for detailed, layered work.
How the app is organised
Lightroom Classic is the folder-based desktop application that most established photographers use, according to the same review. Folder-based means your photos live in folders you control and the app works on them there, so a tidy folder structure is part of the workflow, not an afterthought. Start by keeping each shoot in its own folder, then cull inside the app and edit only the frames you keep.
Global edits with sliders, local edits with masks
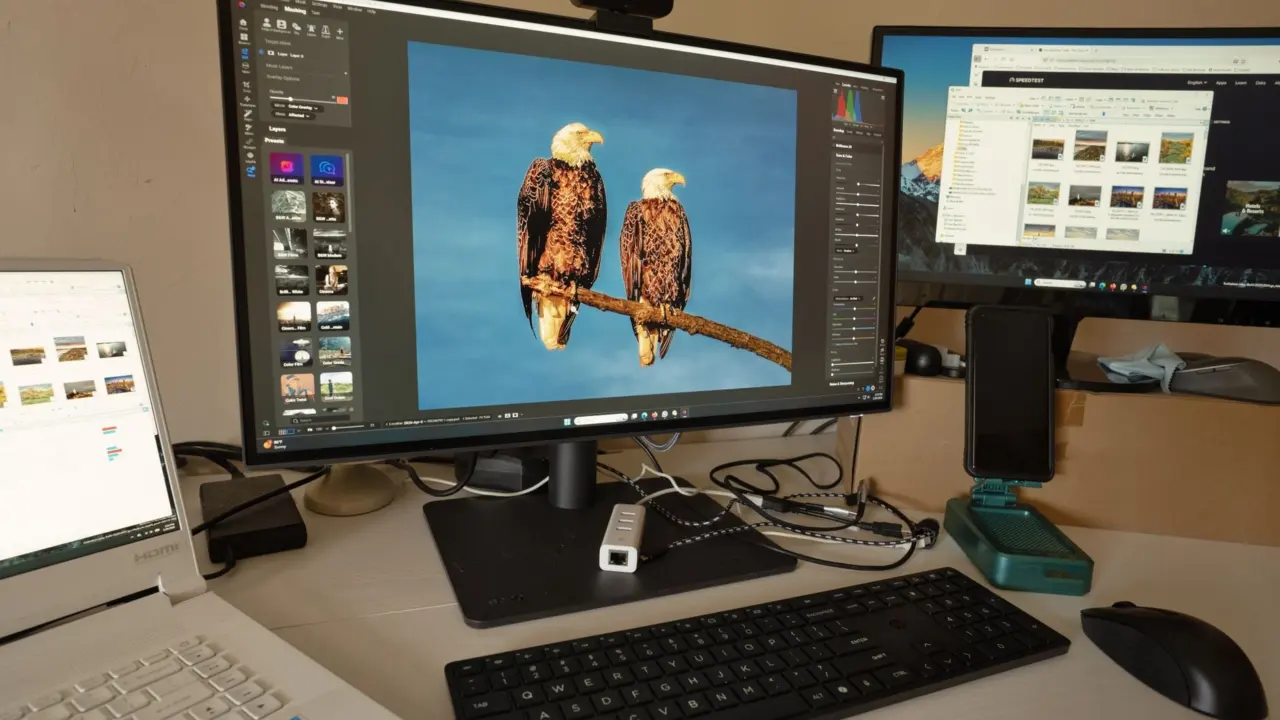
To edit a photo in Lightroom, follow the sequence above in the app’s own controls. Use the sliders for white balance and exposure, then move to masking when only part of the picture needs a change. iPhotography describes the range as everything from simple slider adjustments through to masking specific areas of a photo for localised changes. Use sliders for problems affecting the whole frame, and masks for problems that affect only one area, such as a bright sky or a dark face.
The AI tools in Lightroom have made selecting subjects and backgrounds much quicker, per the same review. That helps most when you want to brighten a subject without lifting the background, a common fix when you exposed for the background. Check the edge of any automatic selection before you rely on it.
When Lightroom is not enough
If your photo needs compositing or layered retouching, you are into Photoshop territory. You can get Lightroom as part of a subscription package that also includes Adobe Photoshop, so you do not have to choose one at the start. For the detailed trade-offs, see lightroom vs photoshop. If your lens introduces distortion or vignetting, lens correction lightroom shows how to deal with it.
Colour grading and presets
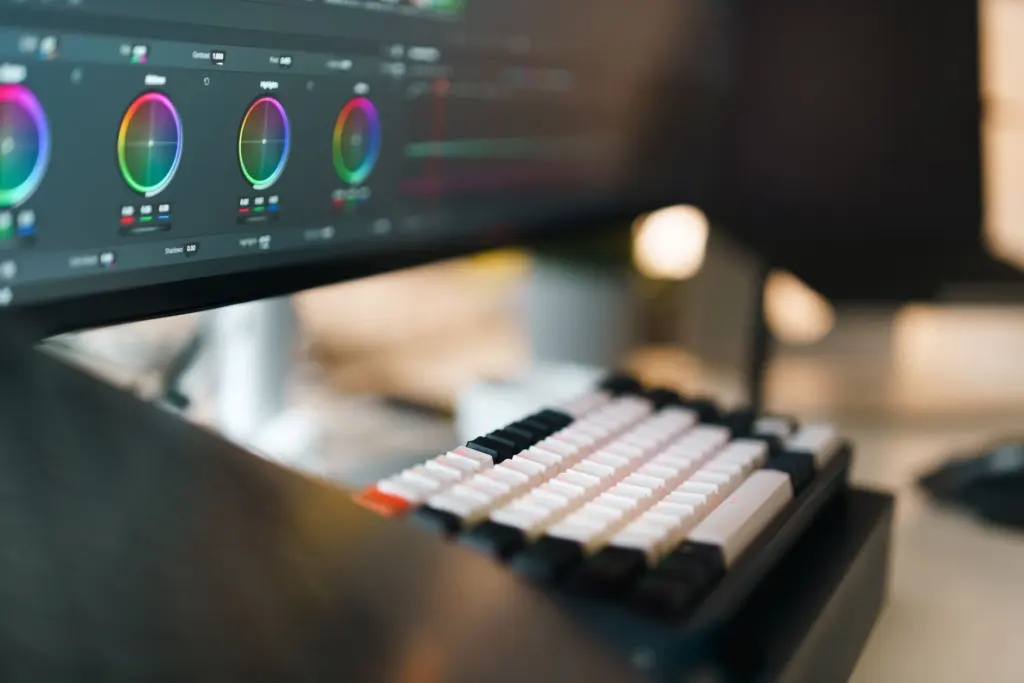
To colour grade a photo, finish your basic corrections first, then adjust hue, saturation and luminance for specific colour channels and tones. That is how the professional editing guide by Allison Busch defines the step.
A beginner’s grading routine
Grading is a choice about mood, not a correction. White balance already made skin look natural, so grading should not undo that. Make a small change to one colour, look at the result against your ungraded copy, and stop when the picture looks intentional rather than processed. The three controls do different jobs:
- Hue shifts a colour toward a neighbouring one, such as making greens lean warmer.
- Saturation changes how strong the colour is.
- Luminance changes how light or dark that colour appears.
Because these controls act on specific colours, shooting choices show through. A frame shot in strong colour casts is harder to grade cleanly than one with neutral light, so get white balance right before you reach for them.
Presets as a starting point
Hand-editing is customised to each image, unlike applying a quick filter or a preset, as the editing breakdown explains. That does not make presets useless. A preset can save time on a batch of similar frames, but it cannot know whether you exposed those frames the same way. Apply one, then check white balance and exposure, because those are what a preset most often gets wrong on a given photo. For ready-made options, see Best Lightroom Presets in 2026: Transform Your Photos With These Top Picks.
Choosing editing software and what it costs
The best free editor to start with is a web-based one, because it costs nothing to test. Among the editors in the review below, Pixlr X is the free option; the others charge either a subscription or a one-off payment.
| Editor | How you pay and what you get | Suits | Planning use |
|---|---|---|---|
| Adobe Lightroom Classic | Folder-based desktop app; available in a subscription package that also includes Photoshop | Photographers who want fast, organised editing of lots of photos | Choose it if you shoot in volume and want one place to cull and edit |
| Adobe Photoshop | Included in the same Adobe subscription package; monthly subscription model | Detailed, layered work | Add it when a photo needs more than global and local adjustments |
| Pixlr X | Free, web-based, no account needed to start; editing up to 50 images at once needs a premium account | Beginners who want to try editing at no cost | Good for learning the sequence; consider paying only if batch editing matters |
| Affinity Photo | One-off payment rather than a monthly subscription | People who dislike subscriptions | Worth a look if you want to buy once and own the software |
| PaintShop Pro | Budget-friendly, with a one-off payment option | Cost-conscious buyers | A lower-cost route to a full desktop editor |
| ON1 Photo RAW | Premium sync and mobile services need a subscription | Editors who want cloud and mobile features | Check whether you need those extras before you pay |
Details in the table come from the iPhotography editor comparison.
Matching software to your situation
If you are unsure you will keep editing, start free and learn the sequence. The skills transfer, so nothing is wasted if you move to a paid editor later. If you already know you will edit regularly and shoot in volume, the folder-based approach of Lightroom saves time. If subscriptions put you off, the one-off options are the ones to compare. For wider choices, the guide to the best lightroom alternatives covers free and one-time-purchase editors, and Top Free Online Photo Editing Tools: How To Pick The Best Editor For Your Photos in 2026 looks at browser-based tools.
After the edit: cleaning up, cutting out and printing
Once your basic edit is solid, specific jobs branch off. Each of these builds on the corrected file from the sequence above.
Cleaning up and cutting out
If distracting people or objects spoil an otherwise good frame, How To Edit People Out Of Photos: Practical, Fast Methods For Cleaner Images (2026 Guide) covers removal. For portraits, How To Edit Hair In Photos: Simple, Natural-Looking Techniques For Faster Results (2026) deals with the detail. If you shot with a sharp background and want it softer afterwards, see How To Blur The Background Of A Photo You Already Took: Easy Steps For Phone, Desktop & Web (2026).
To isolate a subject, How To Remove A Background From A Picture: 7 Easy Methods For Cleaner Photos In 2026 compares methods, and How To Remove Background From A Logo: Fast, Clean Results For Web And Print (2026) applies the idea to logos. Selling products online has its own routine in How To Edit Ecommerce Photos: A Practical 2026 Guide To Faster, Higher‑Converting Product Images, and combining frames is covered in How To Edit Two Photos Together: A Simple 2026 Guide For Seamless Blends.
Printing and archiving
A finished edit often ends on paper. How To Print Out Photos: The Simple 2026 Guide To Perfect Prints Every Time is the general starting point, and How To Print Photos From Your Phone: Fast, High-Quality Prints In 2026 handles the phone case. For specific formats there are How To Print Wallet-Size Photos: A Quick Guide To Perfect 2.5″×3.5″ Prints, How To Print Passport Photos At Home: A Simple Step-By-Step Guide For 2026, How To Print Polaroid-Style Photos: Create Instant-Look Prints At Home In 2026 and How To Print Photos On Canvas: A Practical Step-By-Step Guide For Great Results In 2026. If your starting point is an old print, How To Scan Photos: A Practical Guide To Digitizing Memories In 2026 explains how to digitise it before you edit.
Frequently asked questions
| Question | Answer |
|---|---|
| How long does editing a set of photos take? | It depends on the size of the set and how far you take each image. One professional puts editing a session at anywhere from a couple of hours to a full work day. Culling hard at the start is the easiest way to shorten it. |
| Can I fix a clipped highlight or shadow in editing? | No. Clipping means a loss of data, so sliders can darken or lighten the area but cannot restore detail that was never recorded. |
| Does the histogram change as I edit? | Yes. Changing exposure or colour levels in Lightroom or Photoshop makes the histogram shift, so you can watch it while you adjust to see whether you are pushing tones toward either edge. |
| When should I convert a photo to black and white? | After the basics. The professional editing guide says basic adjustments and retouching need to happen first before you convert, so the monochrome version starts from a clean, well-balanced file. |