Here is how to print out photos well: start from the largest original file, apply the color profile for your printer and paper, and choose home, lab or online printing by how much control you need.
The sections below follow the order in which a print goes wrong or right: pixels first, then color, then the printing route and paper. Edits and exports made earlier matter as much as printer settings, so the wider routine in photo editing for beginners is worth skimming before you print.
How resolution and DPI decide sharpness
A print is only as sharp as the pixels you feed it, and DPI describes how densely the printer lays down dots to reproduce them. An inkjet printer works by moving a print head across the paper and placing tiny droplets of ink on the surface, as the specialist lab Tribeca Print Works explains. The printer can only arrange dots to match the detail in the file. It cannot add detail that the file never recorded.
What happens when a file is too small
The practical risk is enlargement. Tribeca Print Works notes that making a low-resolution image too large can lead to blurriness or pixelation. Resolution is therefore a question about the file and the print size together: the larger the print, the more pixels it needs from the original. When a photo looks soft at the size you want, the sensible fix is a smaller print, not a stretched file.
Many ordering tools publish a recommended minimum pixel size for each print size. Check that guidance for the size you have chosen, and trust it over a rule of thumb you remember from elsewhere.
Protect pixels through editing and export
Most resolution problems begin before the print dialog opens. Phone photos are the usual case: a copy sent through a messaging app or saved for the web is often smaller than the original, so go back to the full-resolution file. Export your final edit at its full pixel dimensions rather than a reduced web size, and keep that export separate from the smaller versions you share online.
Cropping also costs pixels. A tight crop on a wide frame leaves less to enlarge, so crop first, then decide how big the print can be. Online services such as Shutterfly let you crop before checkout, but a crop you make yourself in the editor lets you judge the framing before any money is spent. A square 4×4 print will trim the edges of a wide photograph, while 4×6 and 5×7 suit different compositions.
If you apply a look with presets, as discussed in Best Lightroom Presets in 2026: Transform Your Photos With These Top Picks, judge the result on a test print rather than only on screen. If you edit in a browser, Top Free Online Photo Editing Tools: How To Pick The Best Editor For Your Photos in 2026 covers the editors worth considering, and the same export check applies: confirm the saved file keeps its full size.
Why prints look darker than your screen
Prints often look darker than the screen because a screen and a printer reproduce color in different ways, and the file needs translating between them. That translation is the job of a color profile. Tribeca Print Works advises making sure you use the right color profile for your printer, and the advice applies to the paper too, since each paper type responds differently to ink.
A wrong or missing profile is the first thing to rule out when a print looks dull, dark or tinted. If a lab or online service handles color for you, send the file as it is and do not convert it to a printer profile yourself. At home, let either the editing software or the printer driver manage color, never both, because correcting twice compounds the shift.
Print a small test before committing to a large run, and compare the result with the file under good, even light. If the print still reads darker than you want, adjust a copy of the file, print again and keep a note of the change. That record turns a one-off fix into a repeatable setting.
Home, lab or online: choosing the printing route
Each route trades control against convenience, and the right one depends on how many prints you need and how fussy the result must be. Home printing suits small batches and fast reprints. A lab suits work where color and paper matter most. An online service suits ordering common sizes from wherever your files are stored.
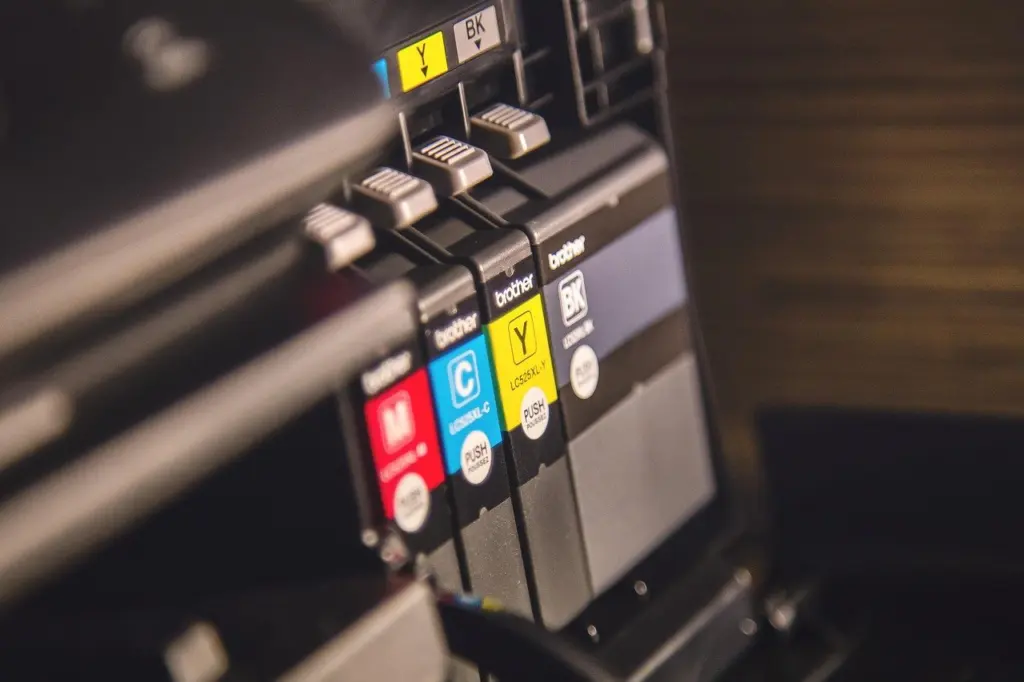
Printing at home on an inkjet printer
An inkjet printer gives you the quickest loop from edit to print and full say over the paper. The cost is upkeep: you supply the ink and paper, and you are responsible for the profile and driver settings described below. It is the best choice when you expect to reprint after small adjustments, and a poor one for a single large print you may only make once.
Using a local print lab
A local print lab lets you bring files in person or upload them. Tribeca Print Works says the best printed photographs come from a shop specializing in high-quality fine art prints, which is a sound reason to choose a specialist for work you plan to frame or sell. A lab can also talk through paper and weight with you before you commit, which a website cannot do. Ask what profile and paper the lab prints with, so your test file matches its setup.
Ordering from an online print service
An online print service is the most convenient route for everyday sizes. Shutterfly’s mobile app offers 4×4 and 4×6 prints, and its ordering options include 4×6, 5×7 and other popular sizes. It also lets you choose a matte or glossy finish and adjust the crop before you buy. That makes it a good fit for family prints and gifts, and less suited to images where you want to choose from a wide range of papers.
Whichever route you pick, compare the price per print, any extra charge for color correction or special paper, and delivery time. Cost and speed vary by provider, and the cheapest listed price rarely includes everything.
Choosing a paper finish and weight
No single finish is best for every photograph. Tribeca Print Works says there is no universal way to know which paper is best for your image, so the decision rests on the picture and your preference. Its lab offers smooth, lightly textured, glossy and matte papers in a variety of weights, while a mainstream service like Shutterfly keeps the choice to matte or glossy.
- Glossy: a common default for everyday prints, offered by both the lab and the online service above.
- Matte: the alternative on every route covered here; it is worth ordering one print in each finish when you are unsure.
- Smooth and lightly textured papers: available from specialist labs; they suit images you intend to display, where the paper itself is part of the look.
- Weight: a heavier sheet is a separate choice from finish, so ask the lab what weights it stocks, and at home check that your printer accepts the paper you buy.
The simplest way to decide is to print one favorite image on two finishes and compare them side by side. The photo itself, not a general rule, should settle the choice.
Setting up a home print step by step
Home printing goes smoothly when you set things in a fixed order, so that each choice is made once and recorded.
- Open the final export. Use the full-size file you saved after editing, not a web copy.
- Select the paper type in the driver. The setting should name the paper actually loaded, because the printer adjusts ink to it.
- Choose the print quality. Pick a photo-quality option rather than a draft mode, and expect it to print more slowly.
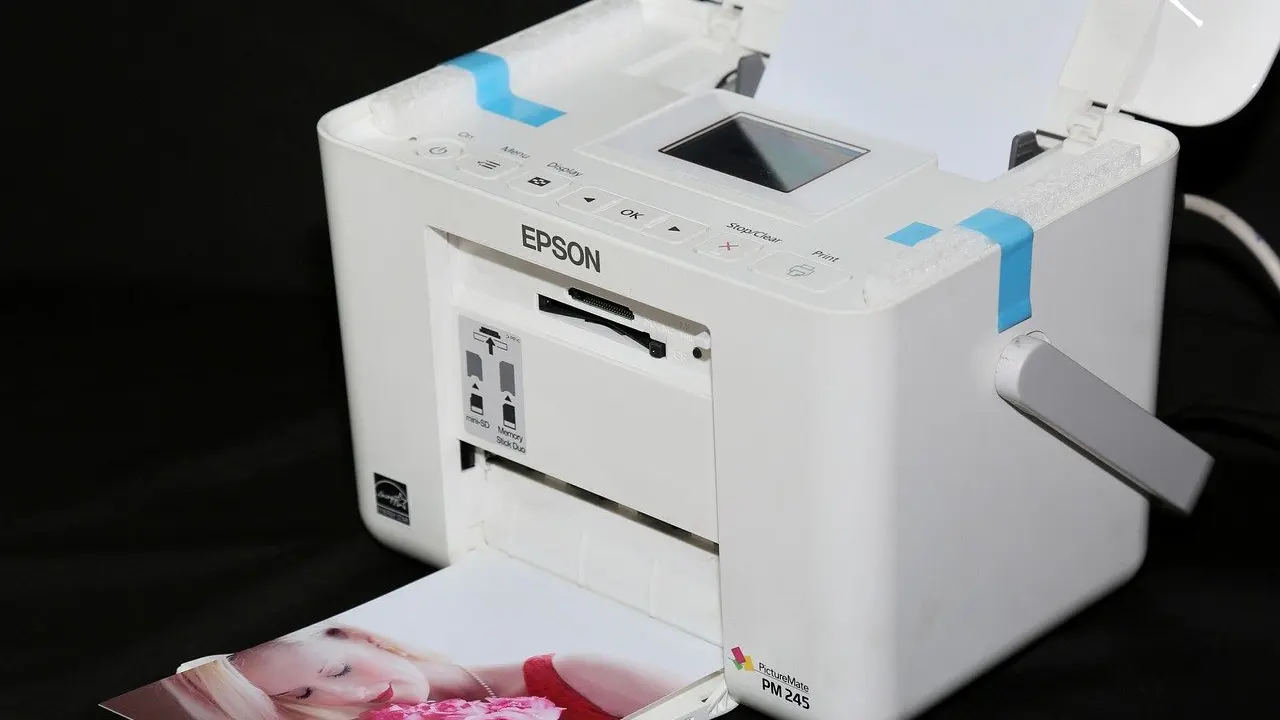
- Pick the color profile and one color manager. Use the profile for your printer and paper, and turn off any automatic scaling or correction in the other program.
- Print a small test. Examine it before running the full size, and note any changes you make.
- Save the settings. Store them as a preset or write them down so repeat prints match.
If a print comes out streaky or off-color, revisit the profile and paper type before replacing ink. Those two settings account for most of the disappointments described above.
Frequently asked questions
Can I order prints straight from my phone?
Yes. Shutterfly’s mobile app offers 4×4 and 4×6 prints, and you can crop or choose a matte or glossy finish before ordering.
Can I take files to a lab in person?
Yes. Specialist labs such as Tribeca Print Works accept files brought to the studio or uploaded through their online print studio, so you can choose whichever is easier.
What should I do if a photo looks soft when enlarged?
Choose a smaller print size or go back to a higher-resolution original. Enlarging a low-resolution image too far leads to blur or pixelation.